
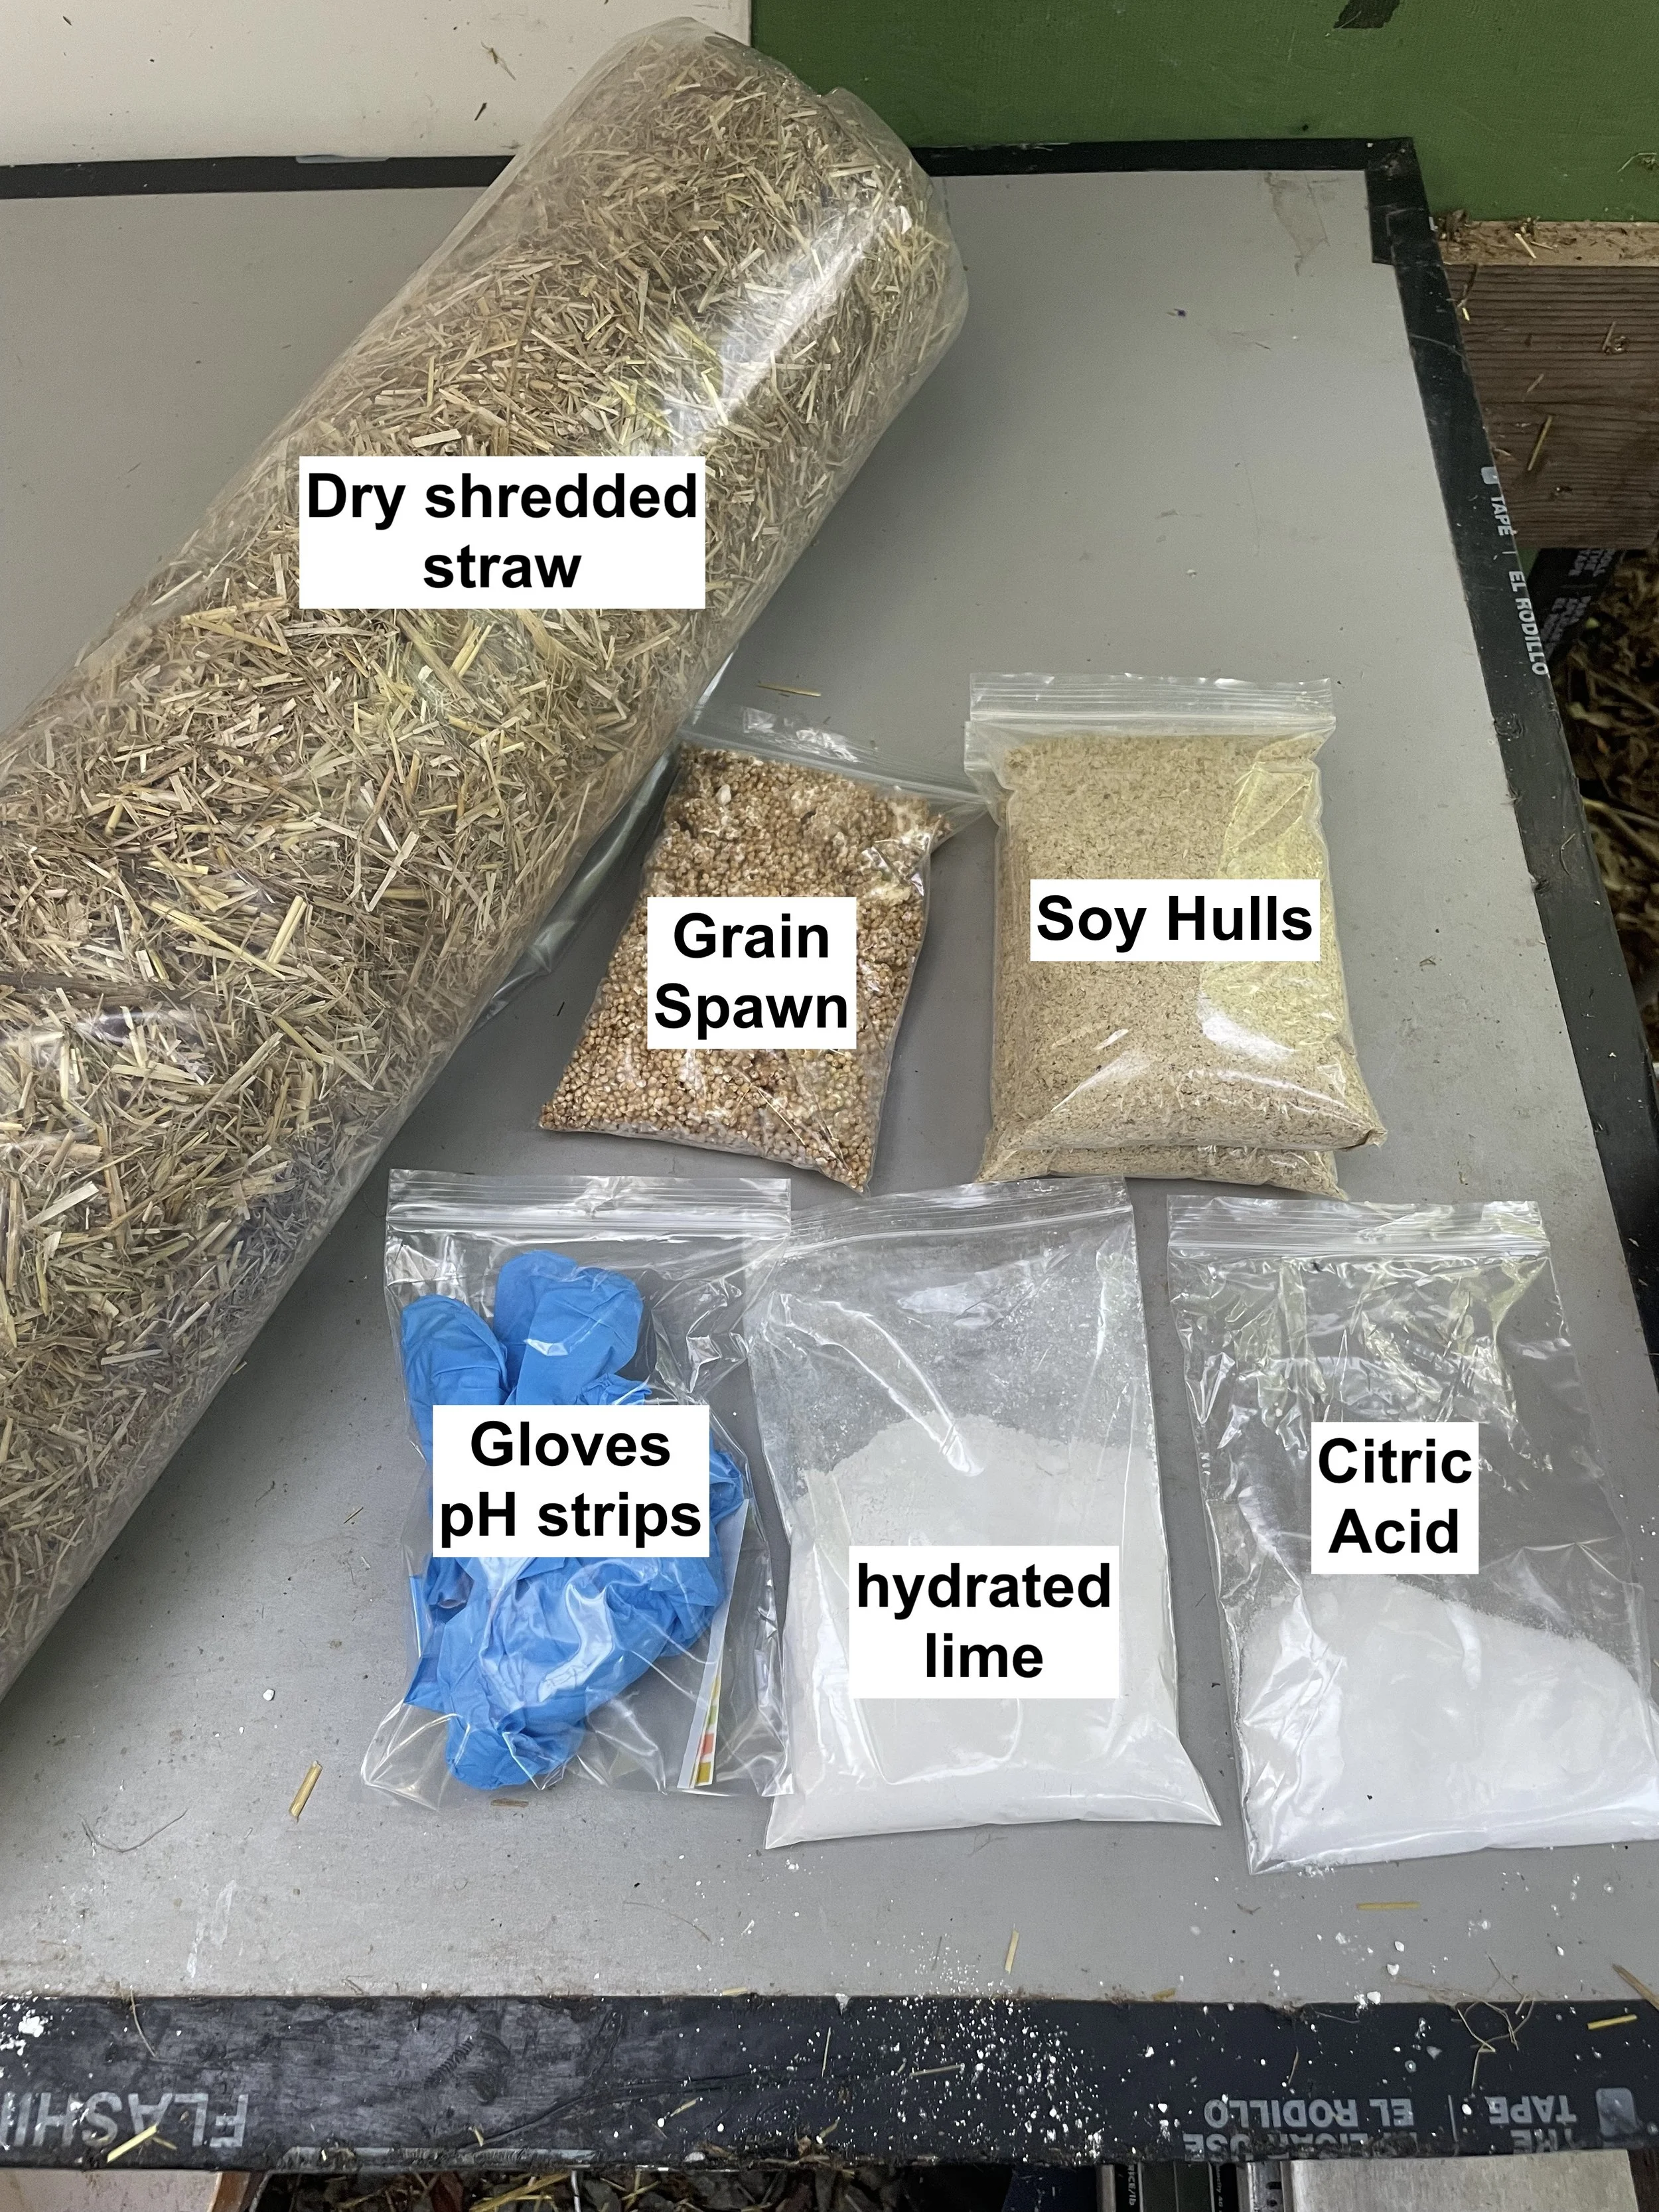
All the items in your kit!
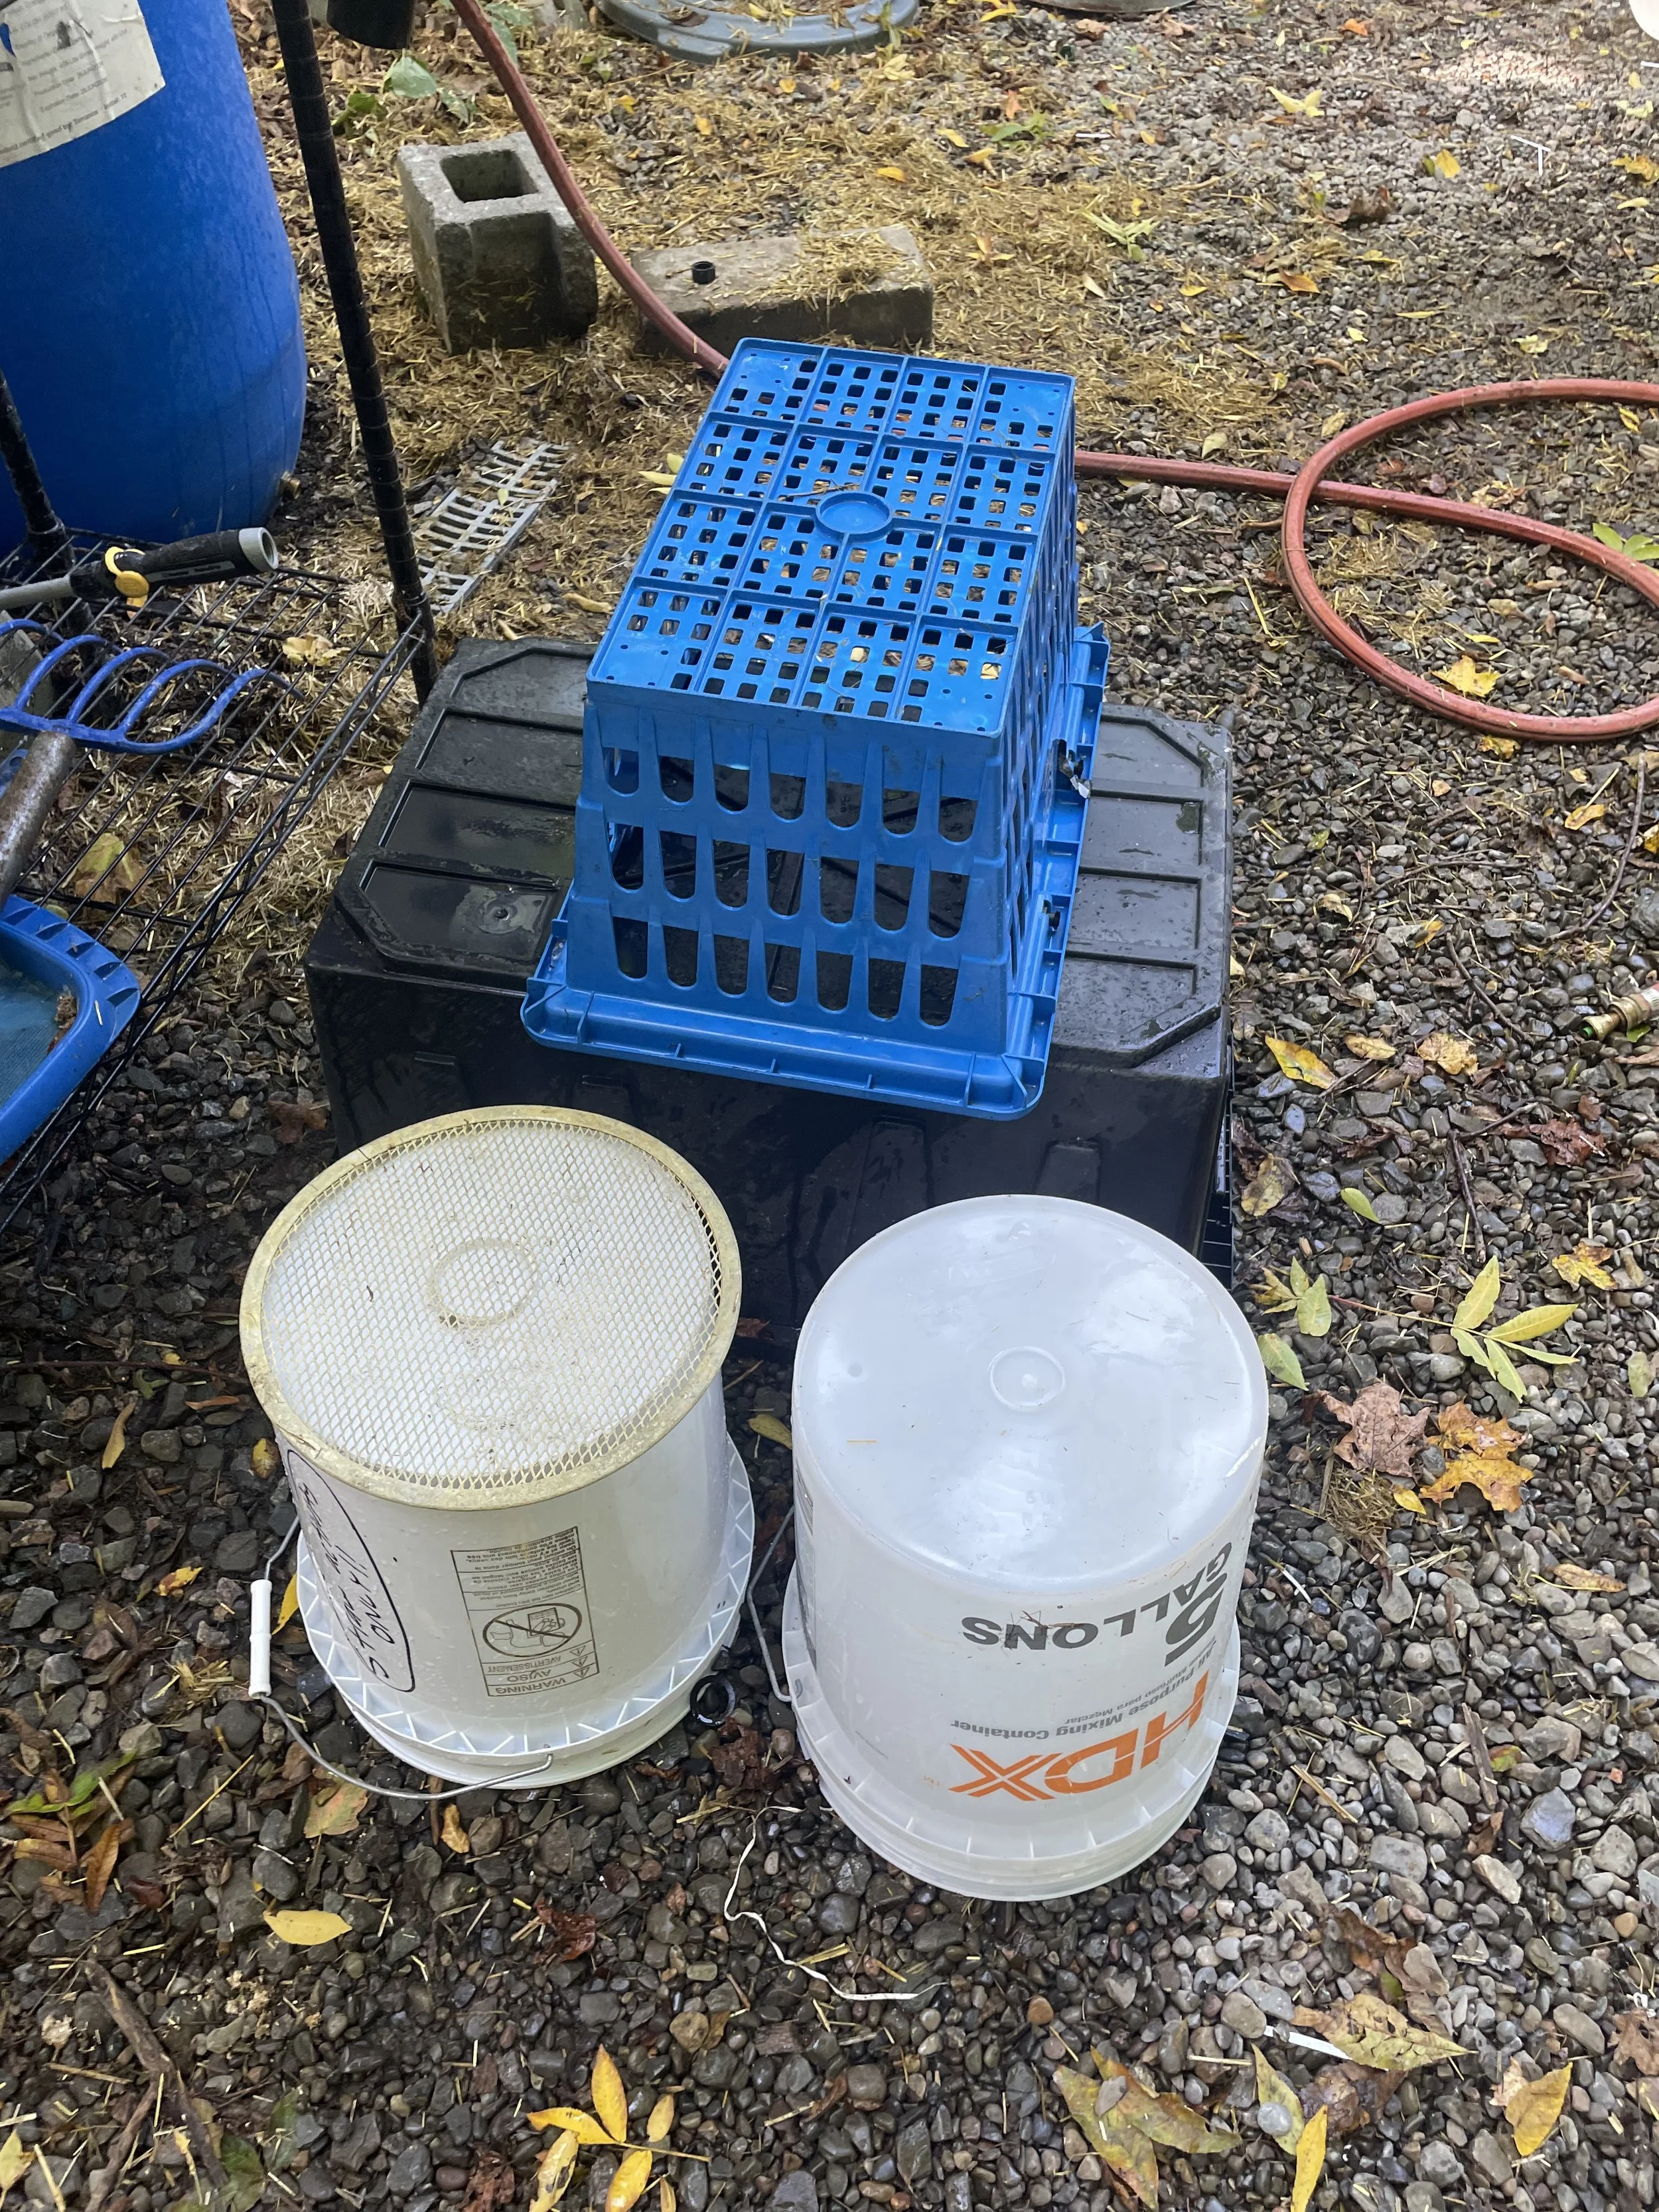
Items you need to gather: two CLEAN 5 gallon buckets, a tote and something to drain straw.
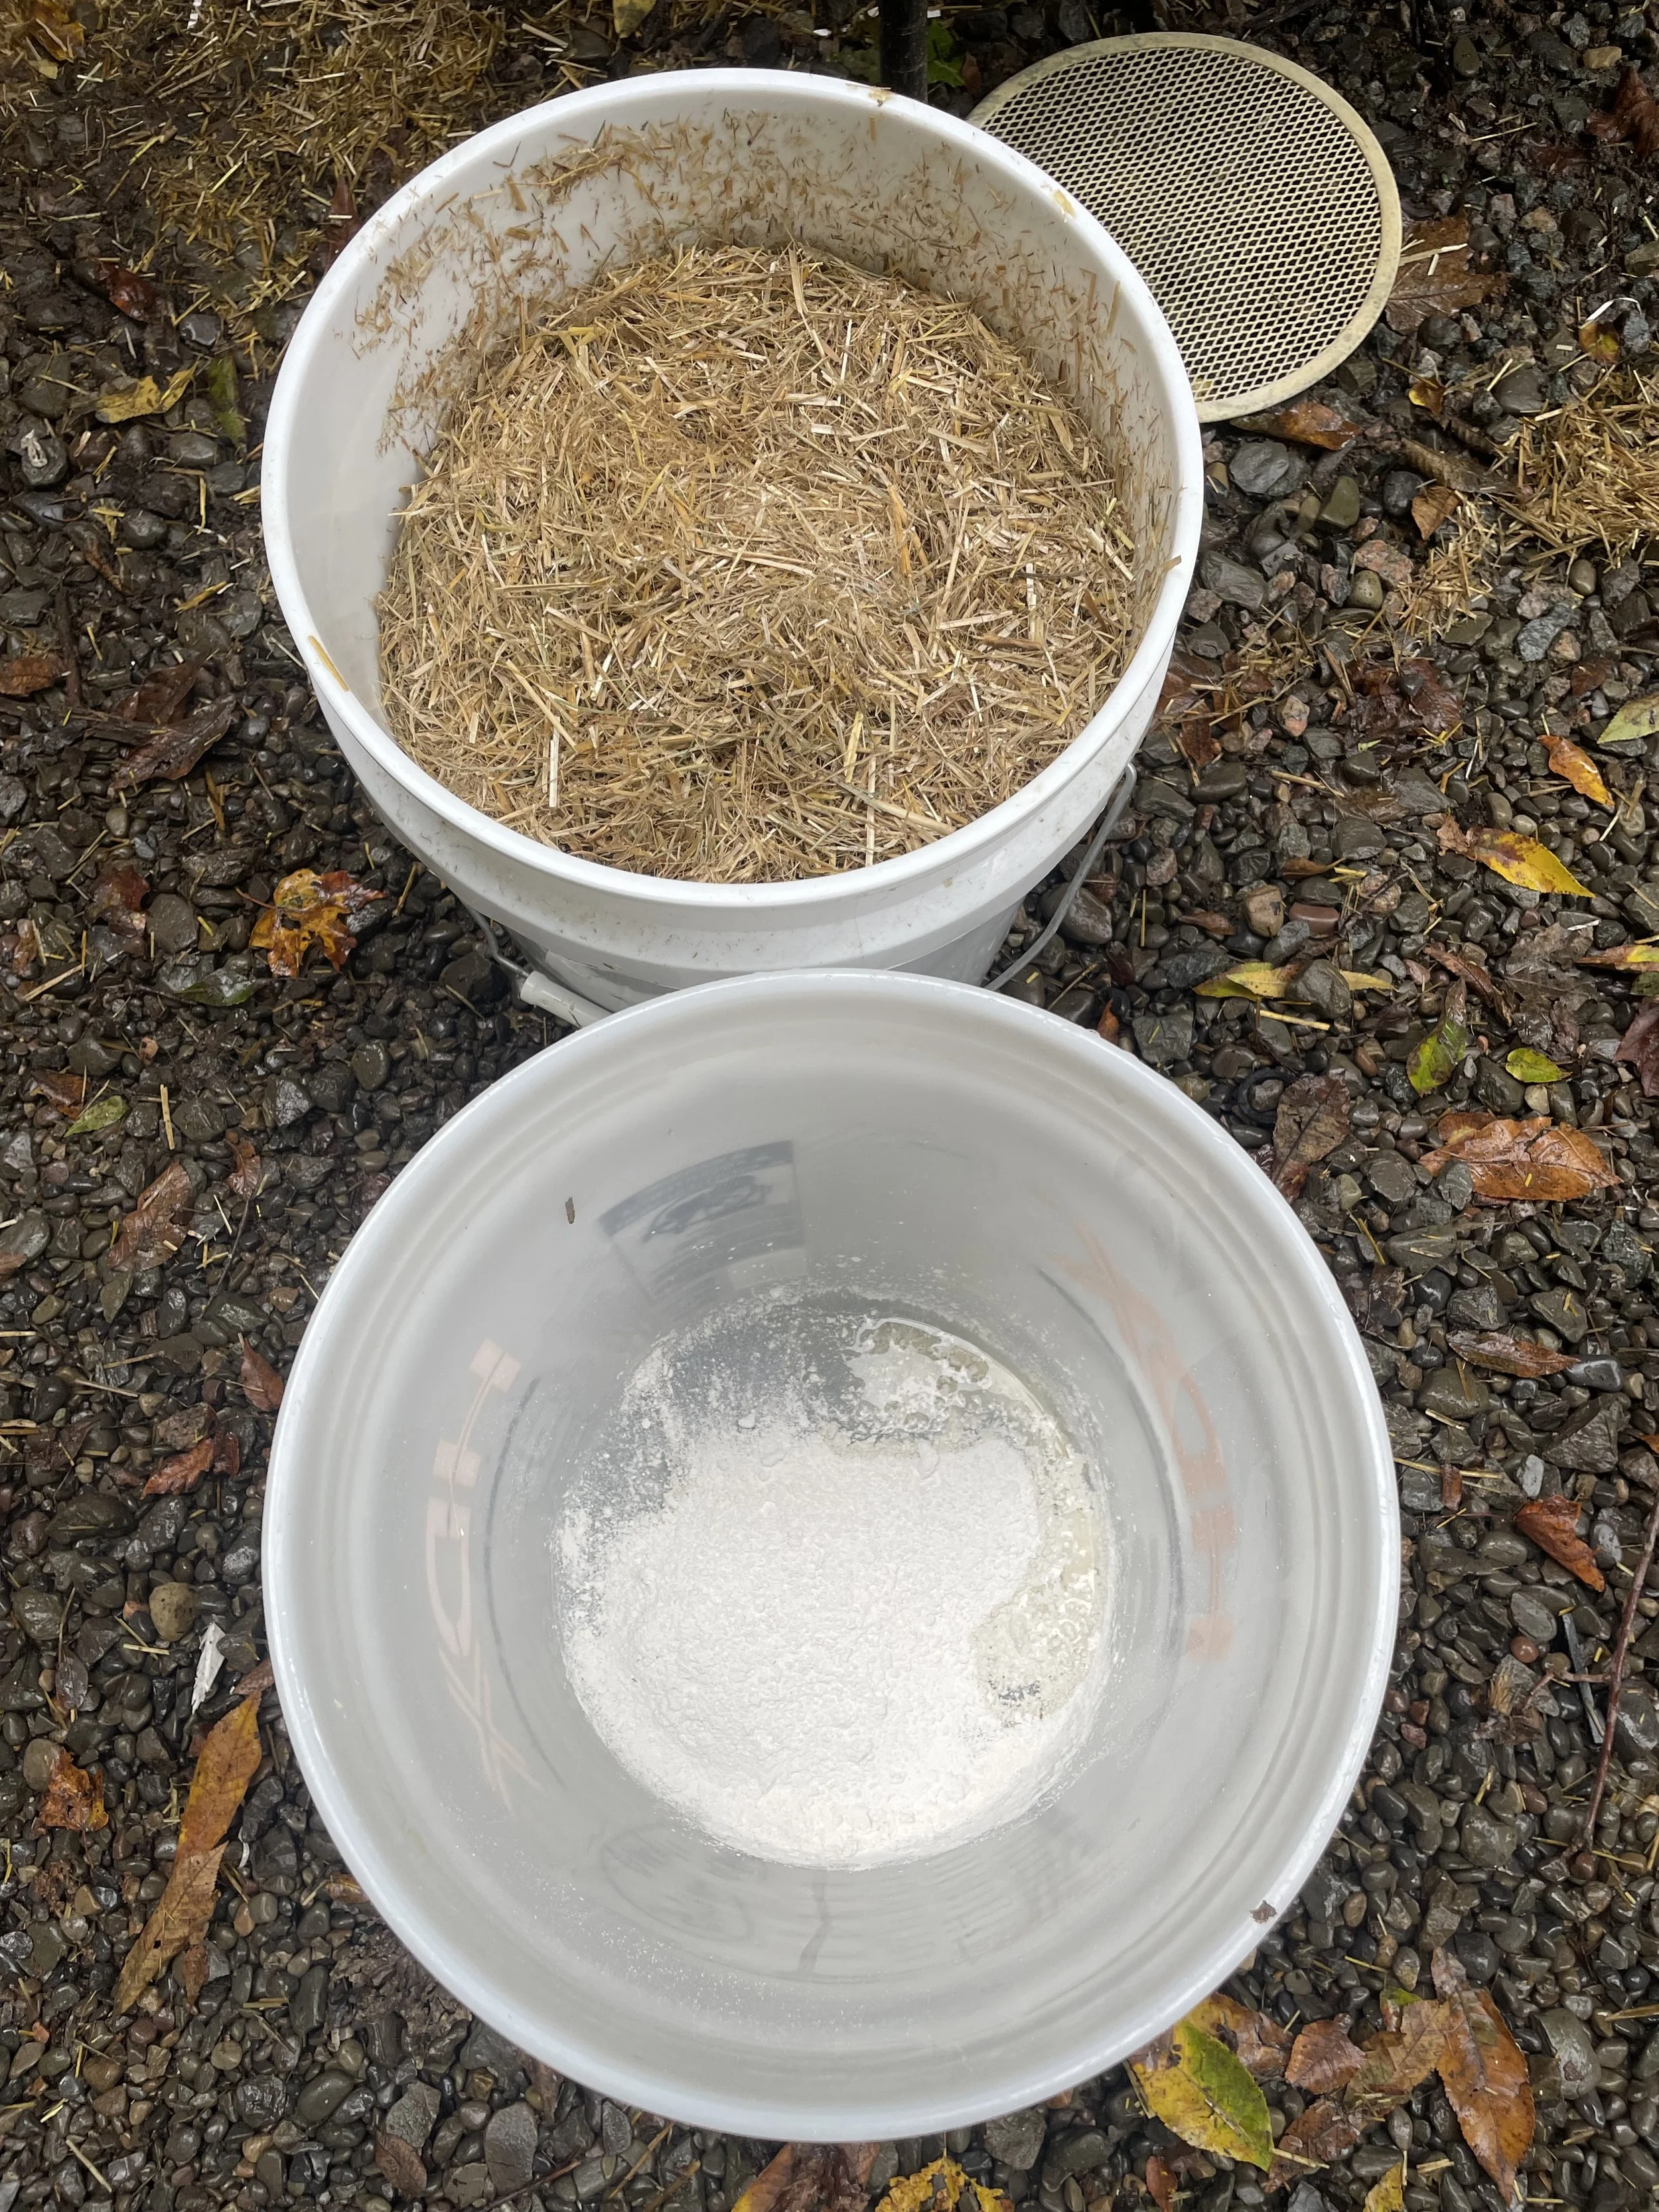
one bucket gets dry straw, the second is lime + water
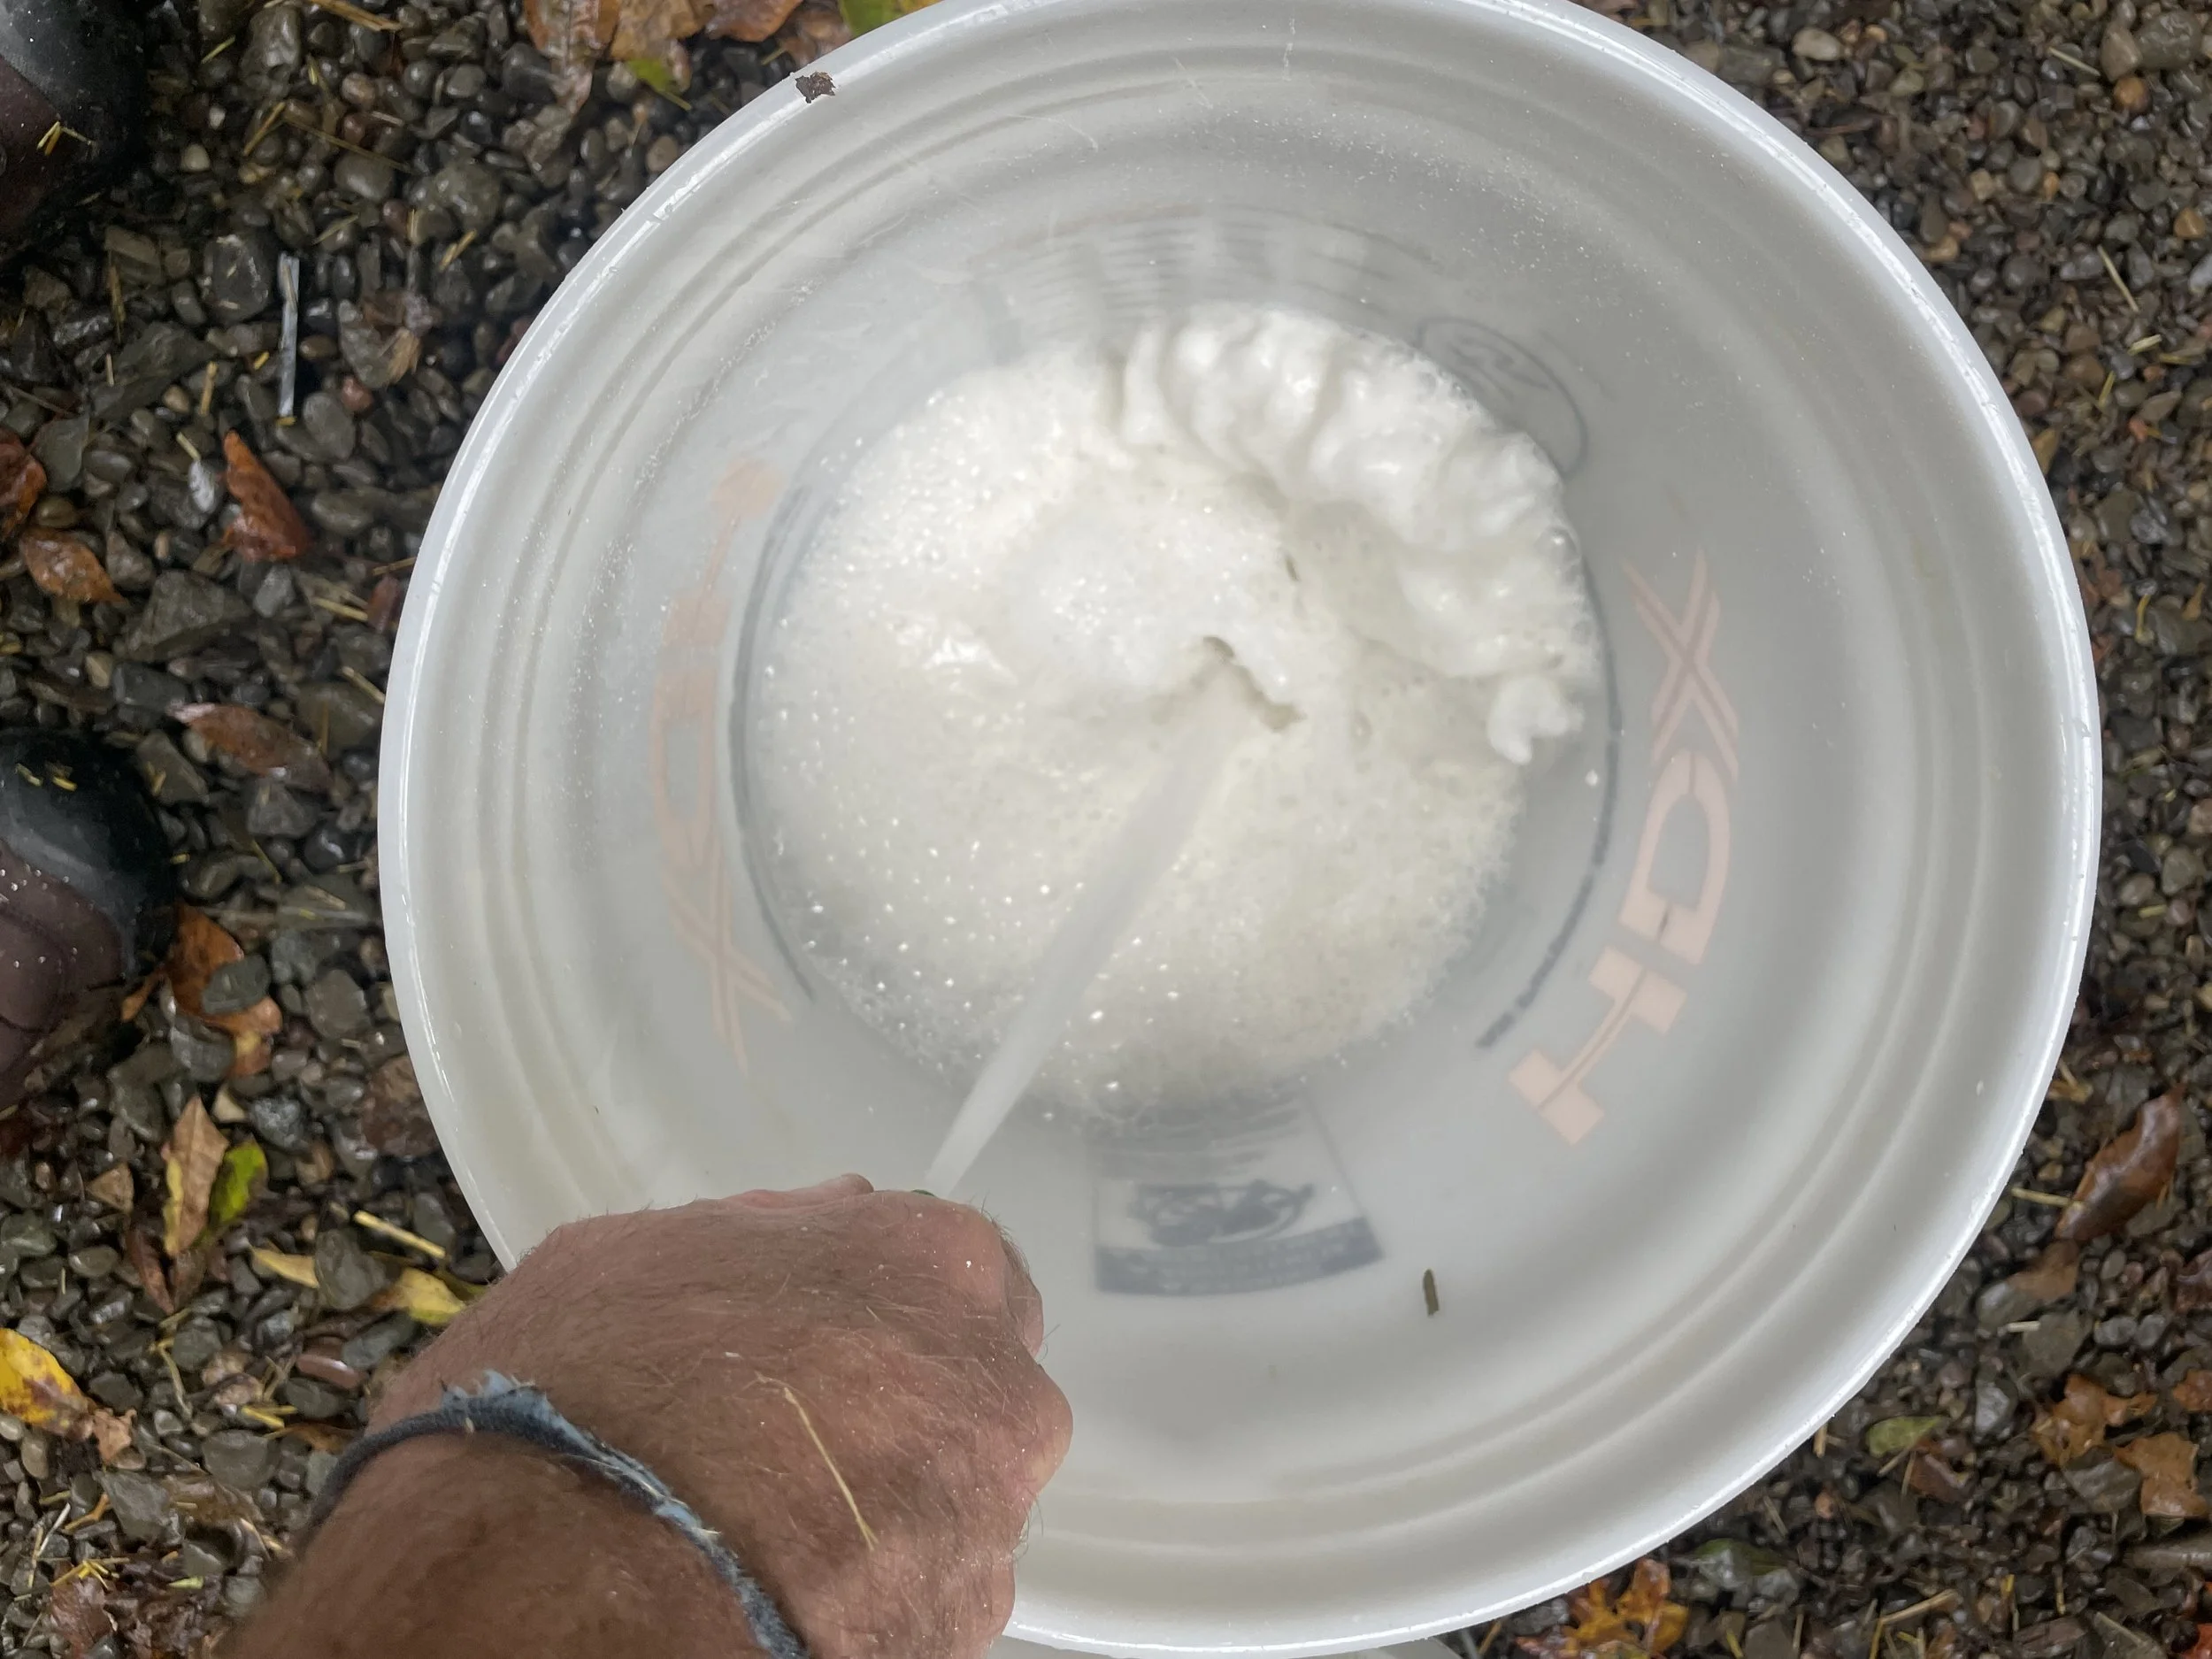
add lime carefully so it doesn't plume up when you spray water
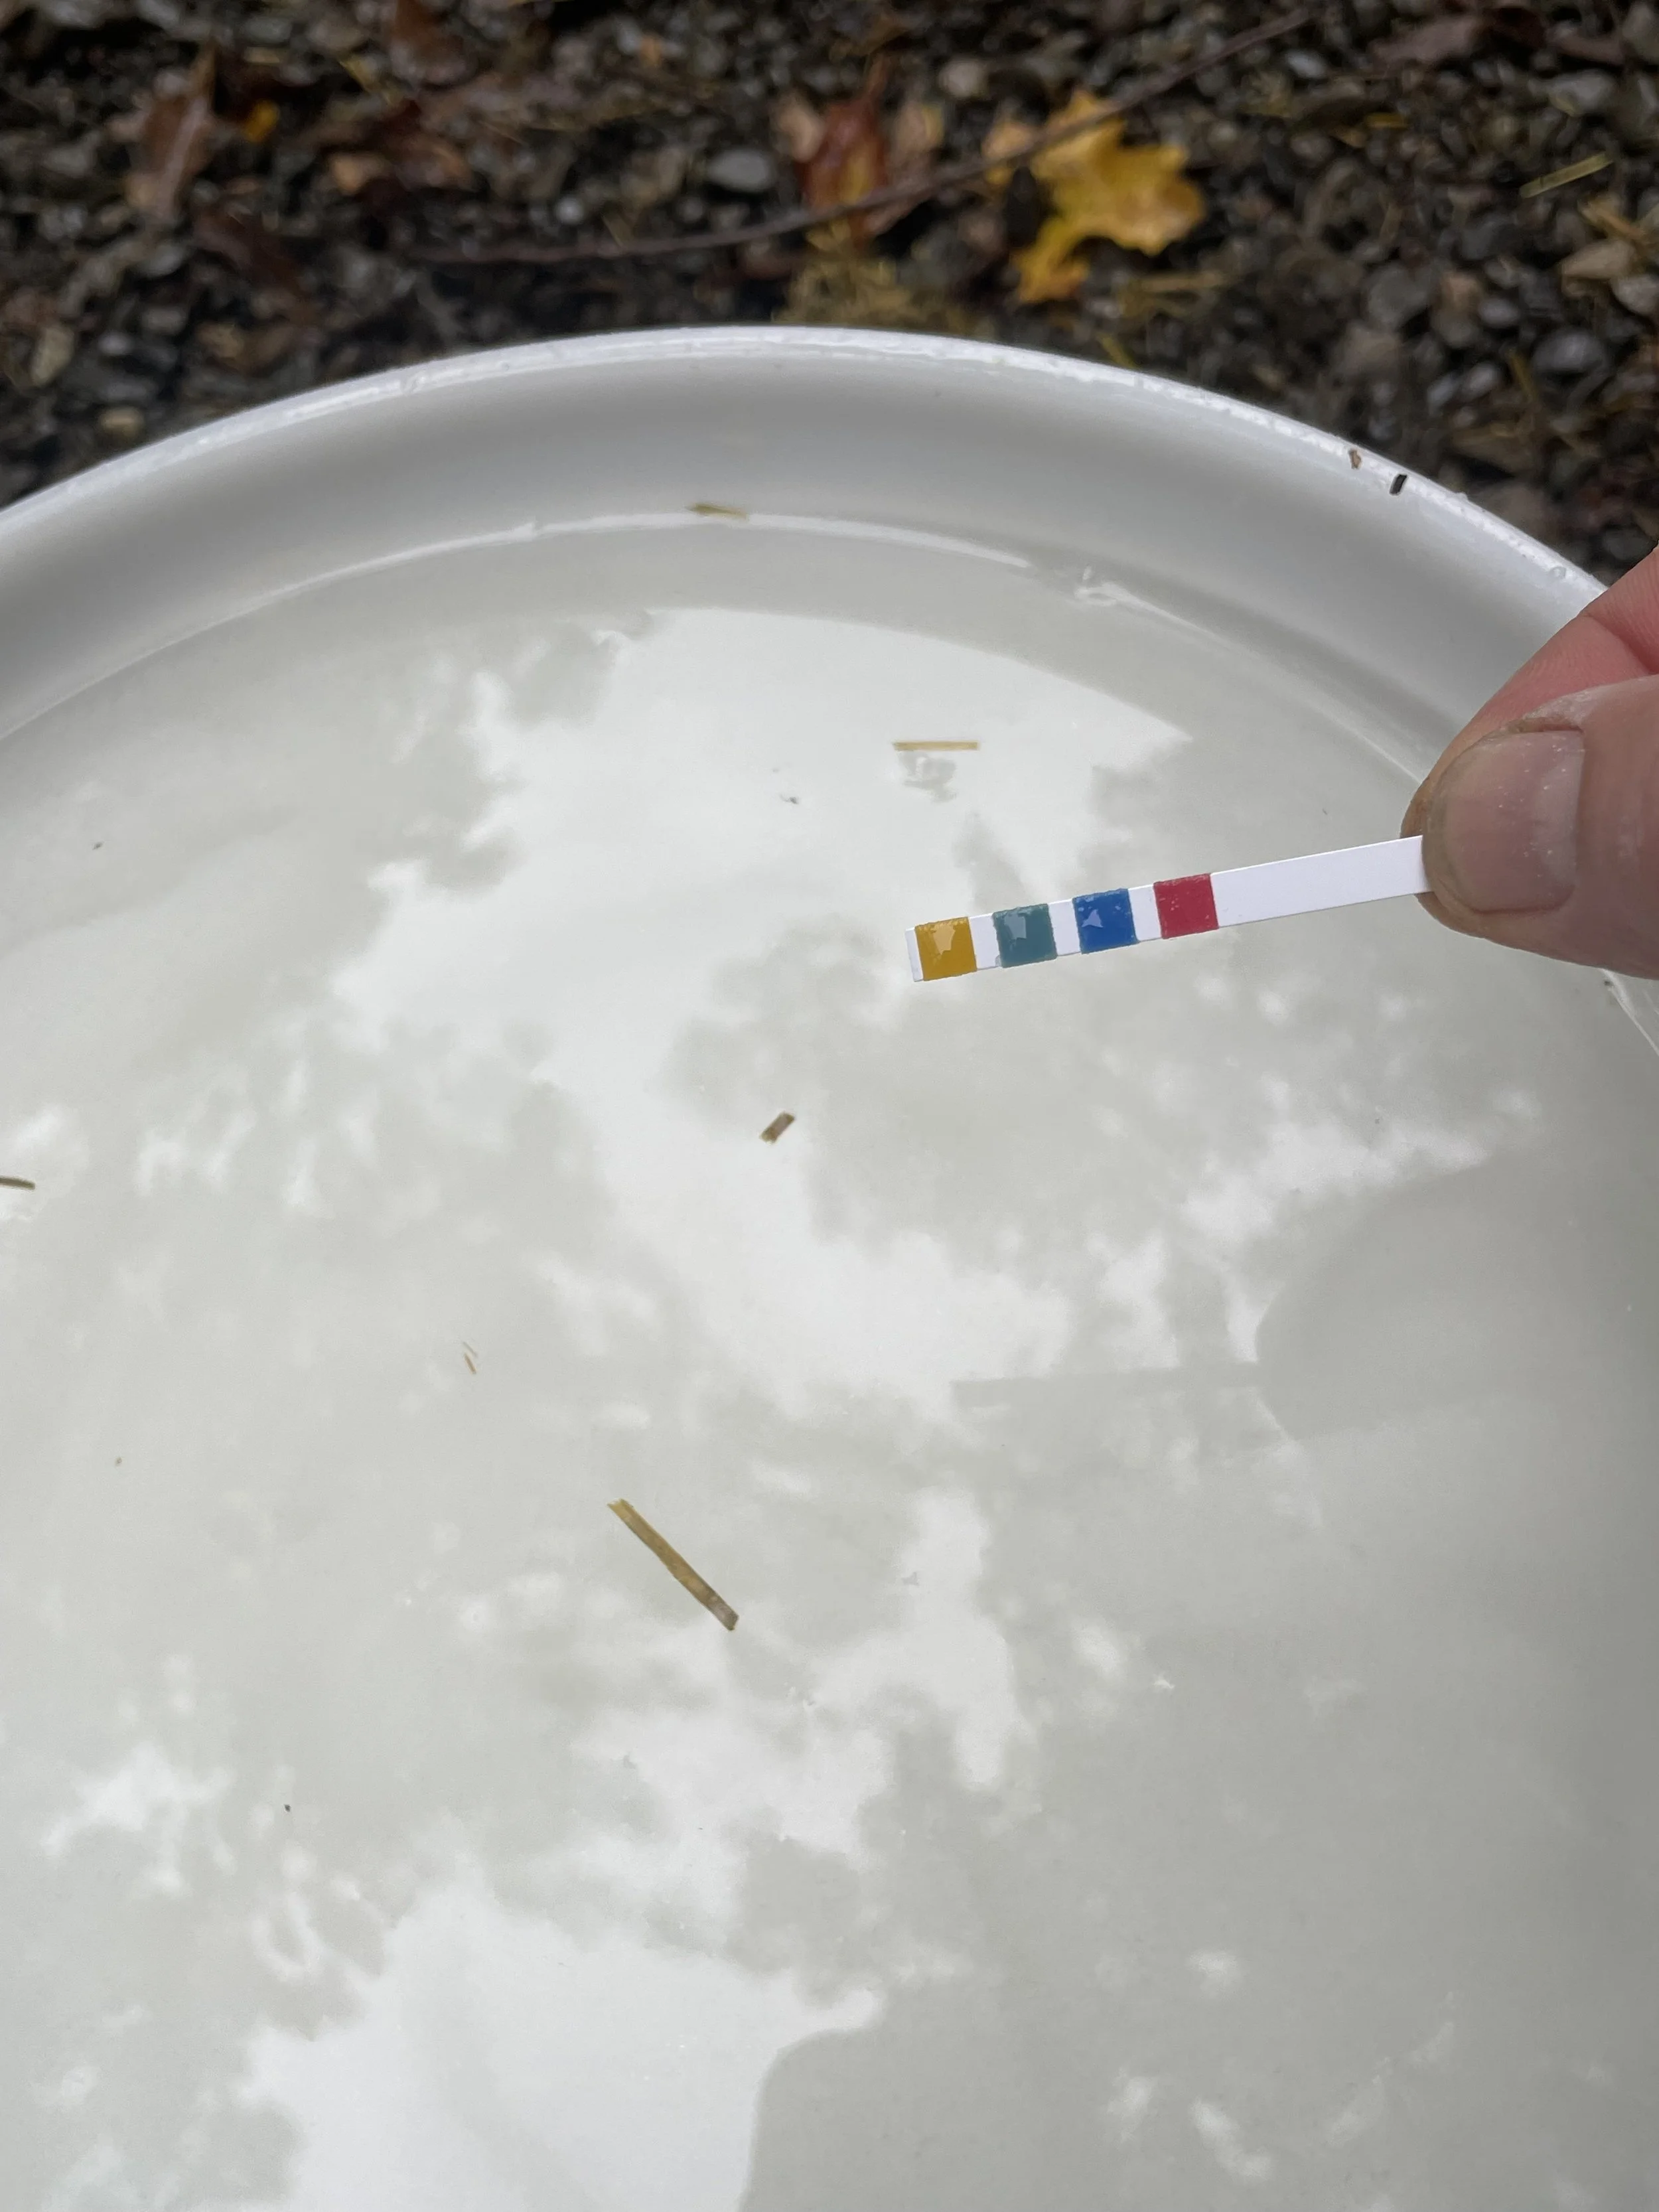
test pH it should be at least 12, but 14 is fine. the reference chart is next pic.
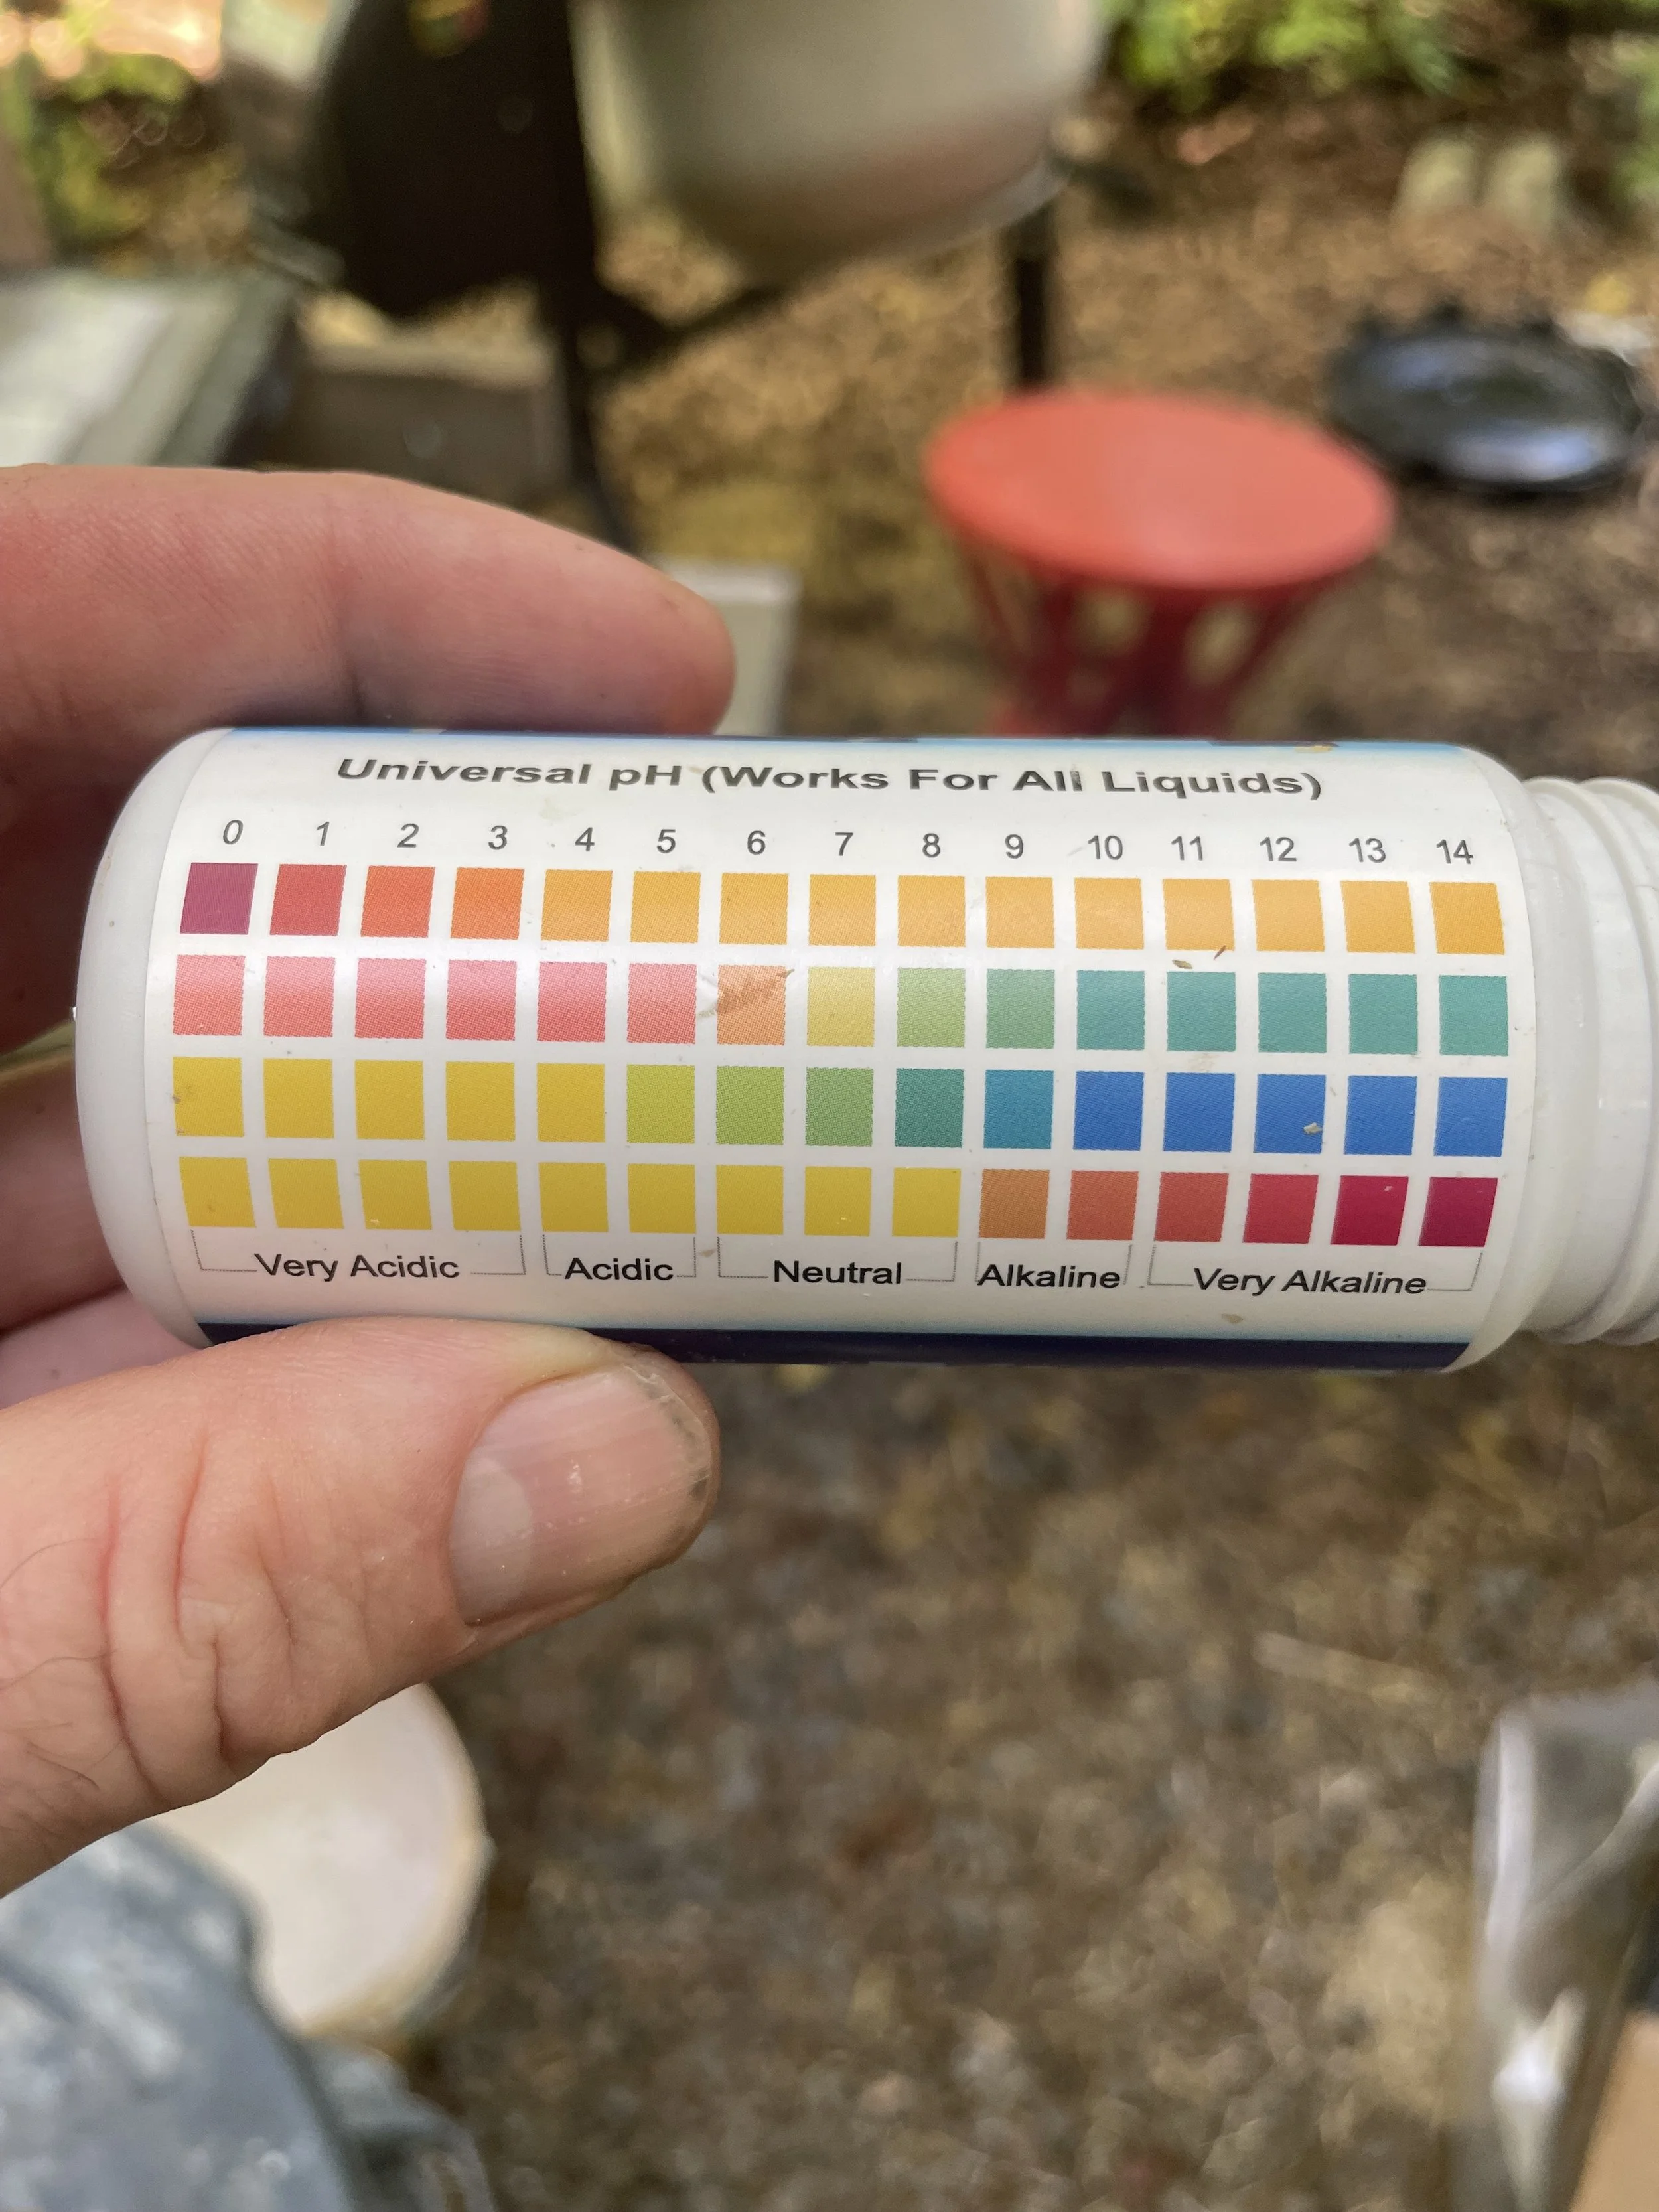
reference chart for pH
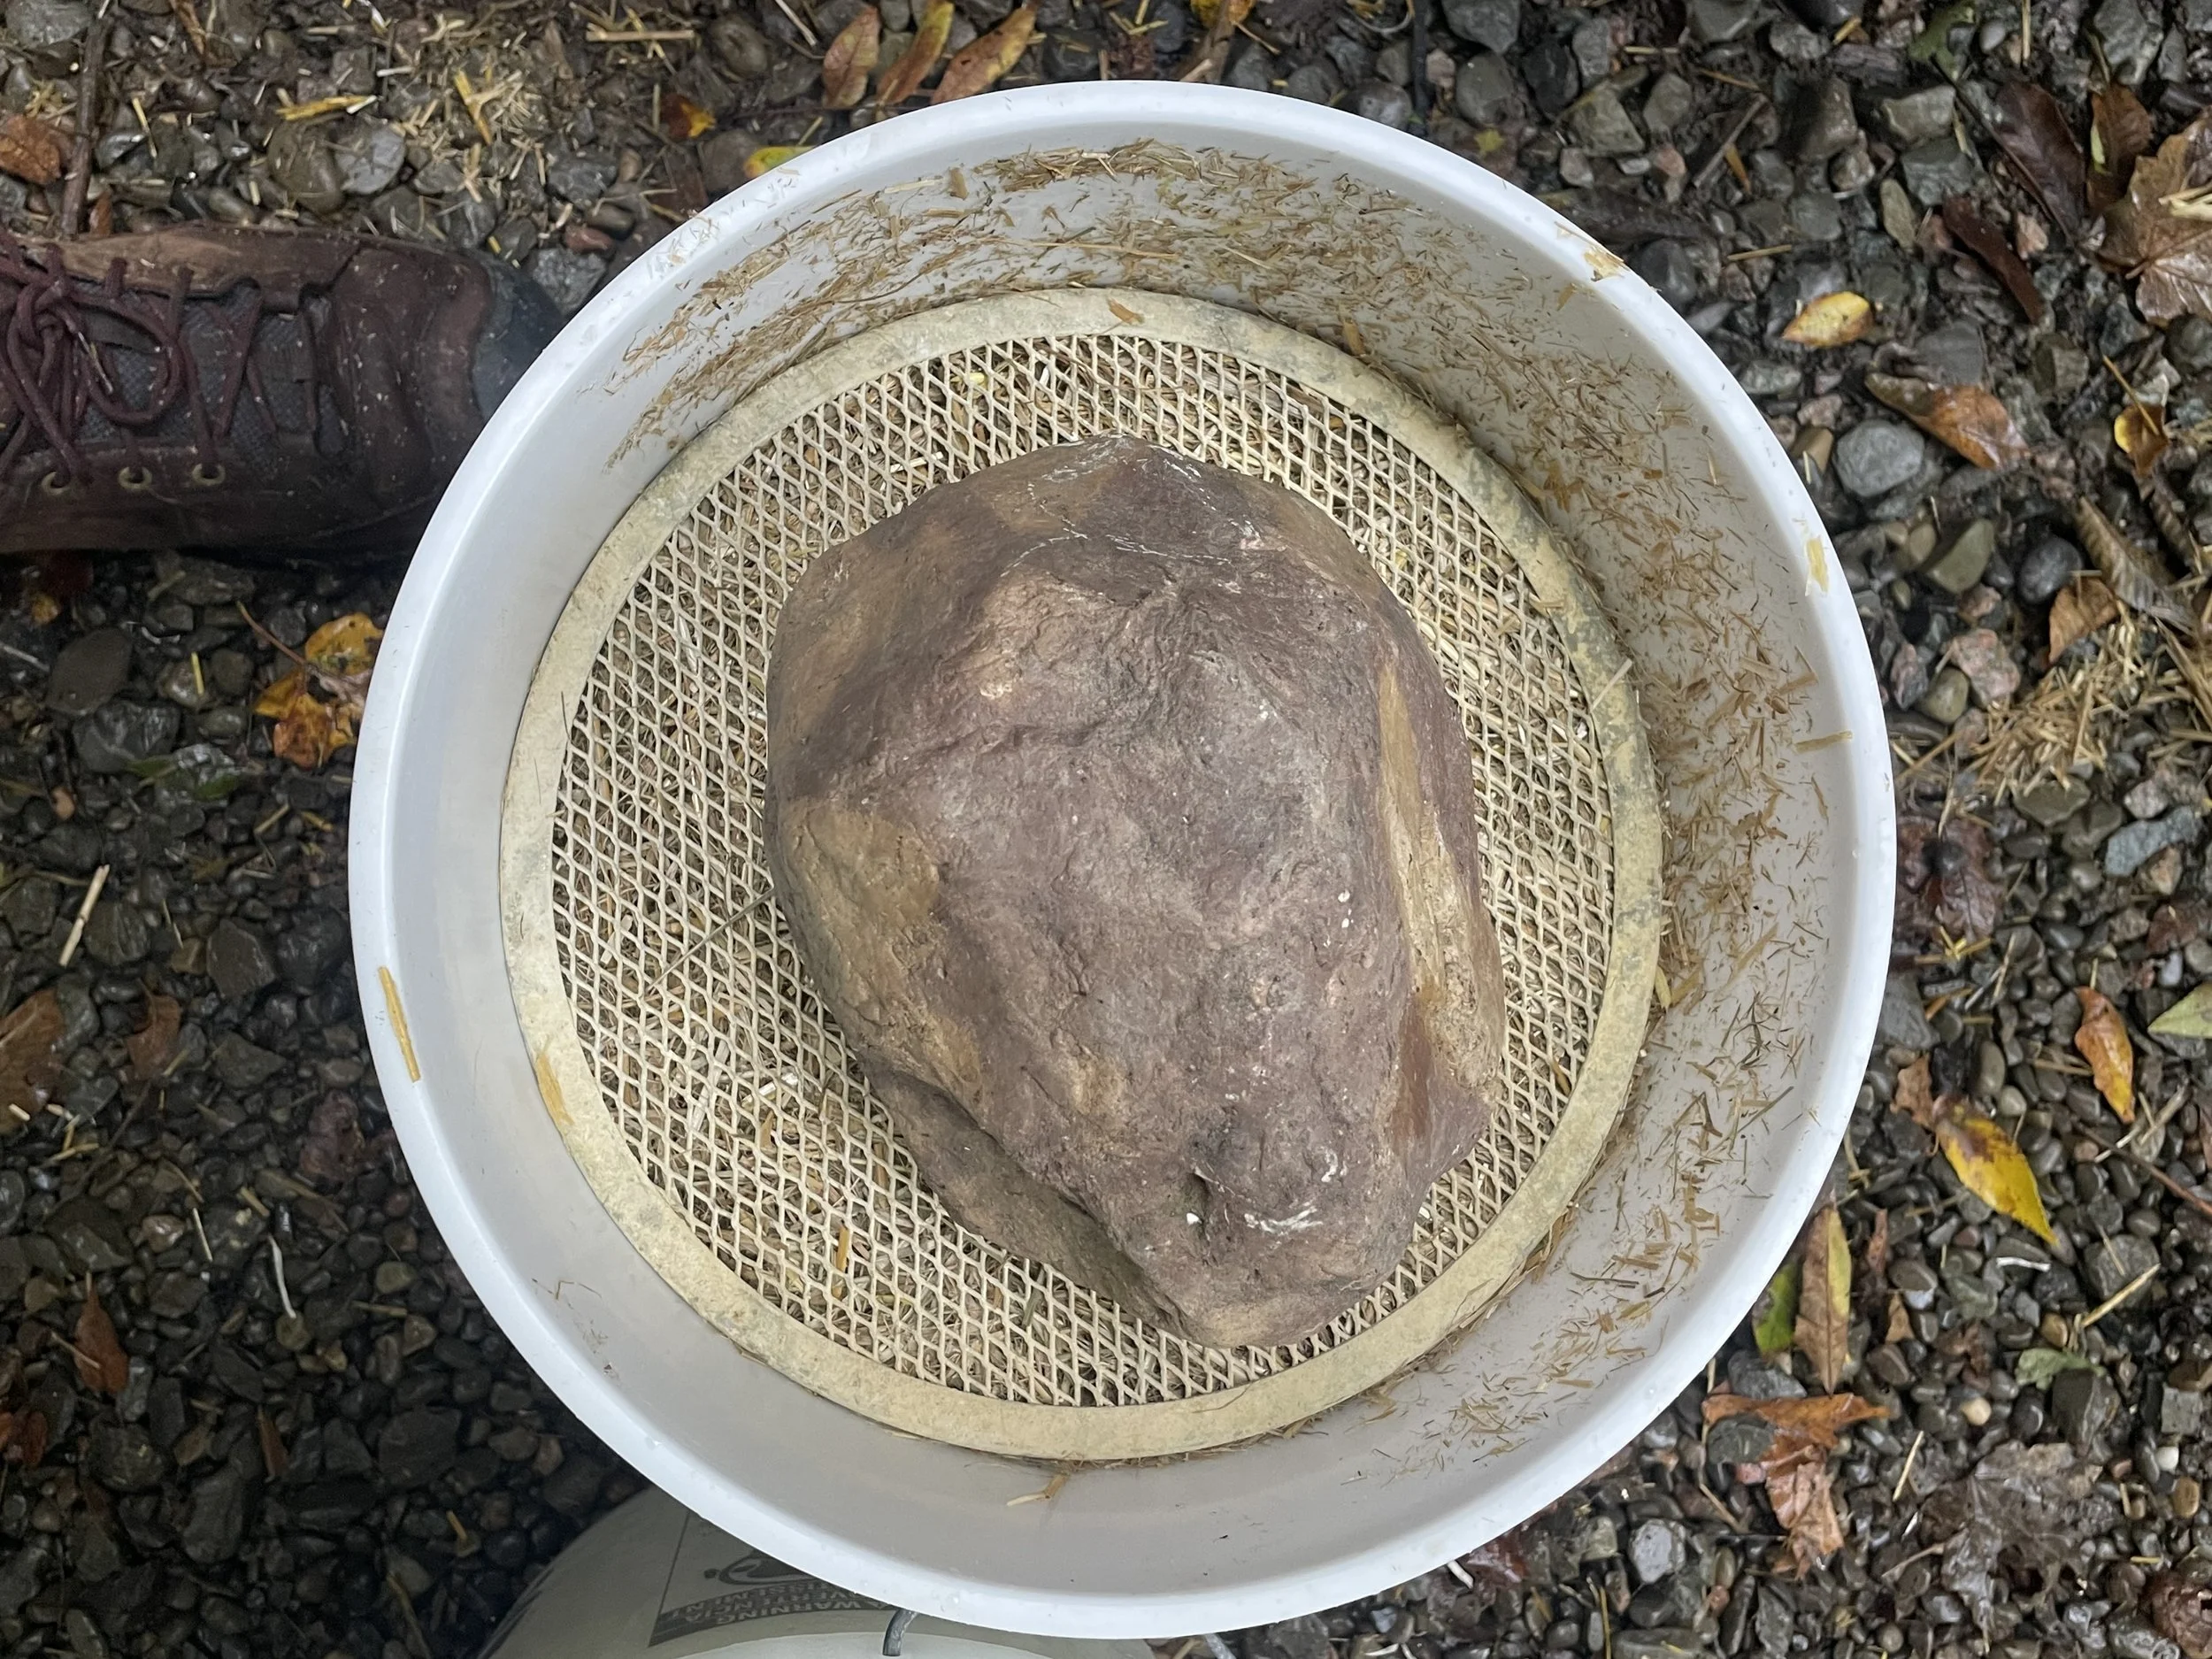
weight down the straw with a rock or brick, and a screen helps too!
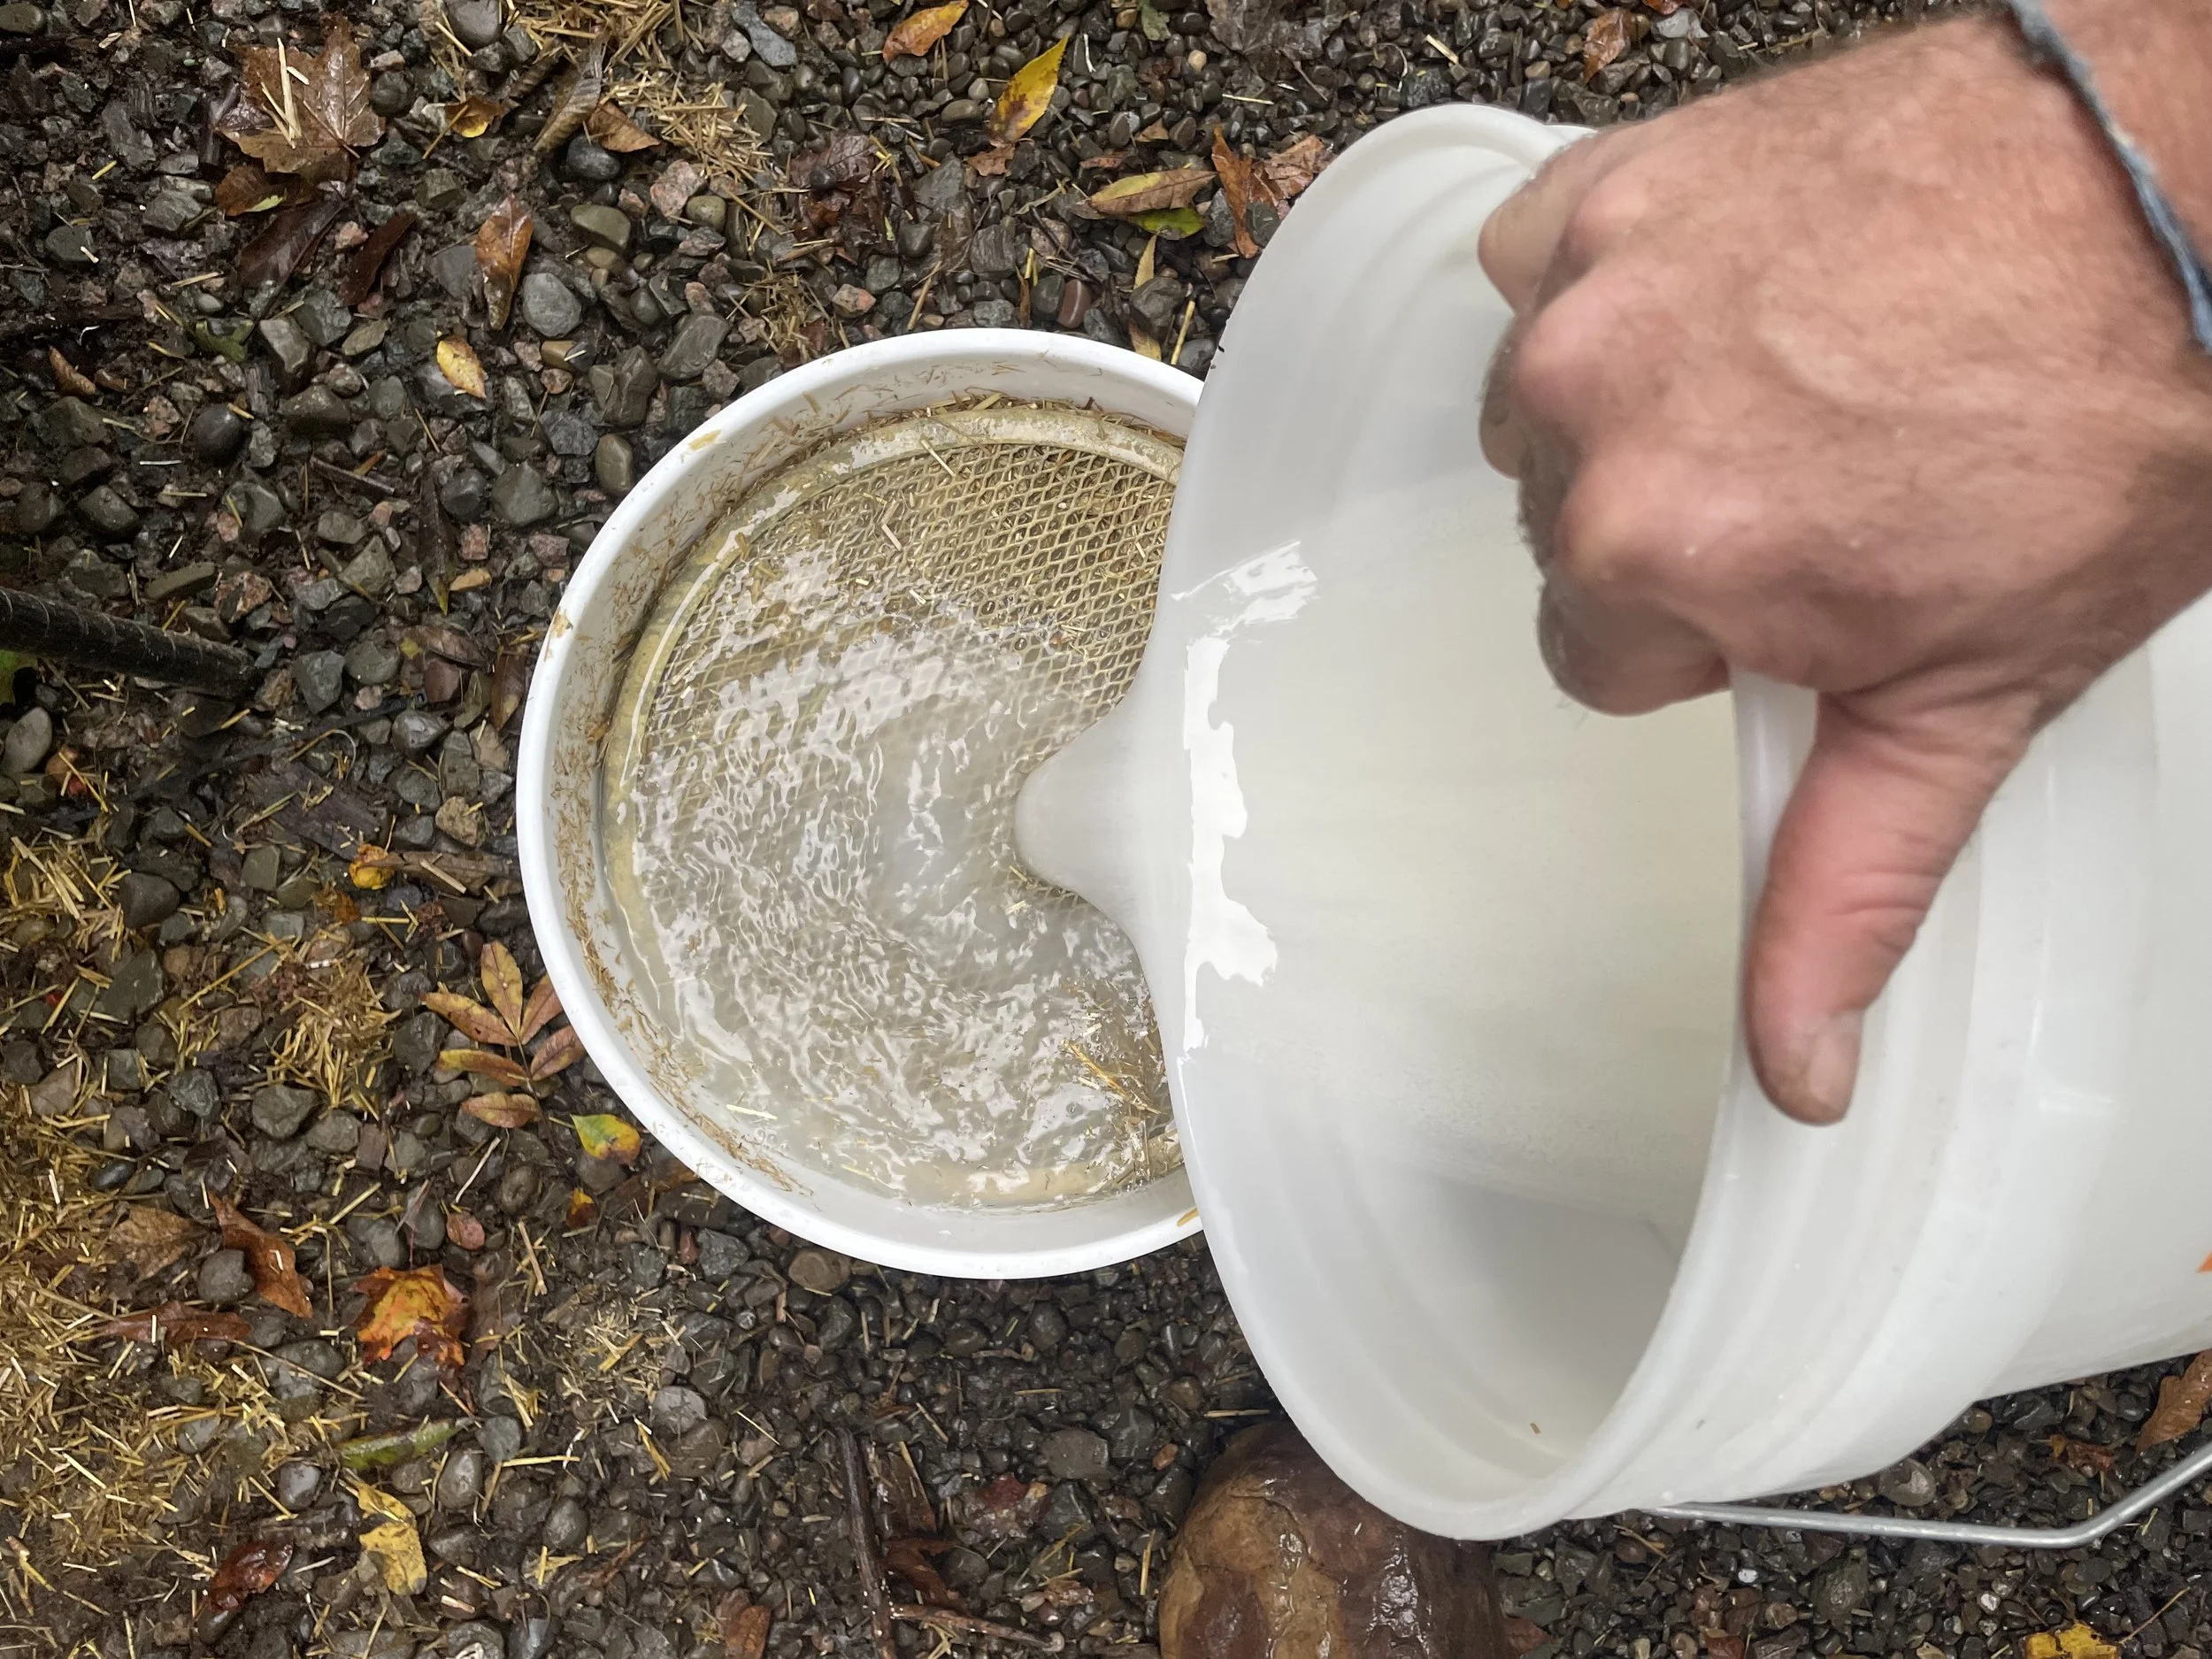
slowly add lime and ensure its fully covered - now let it sit overnight!
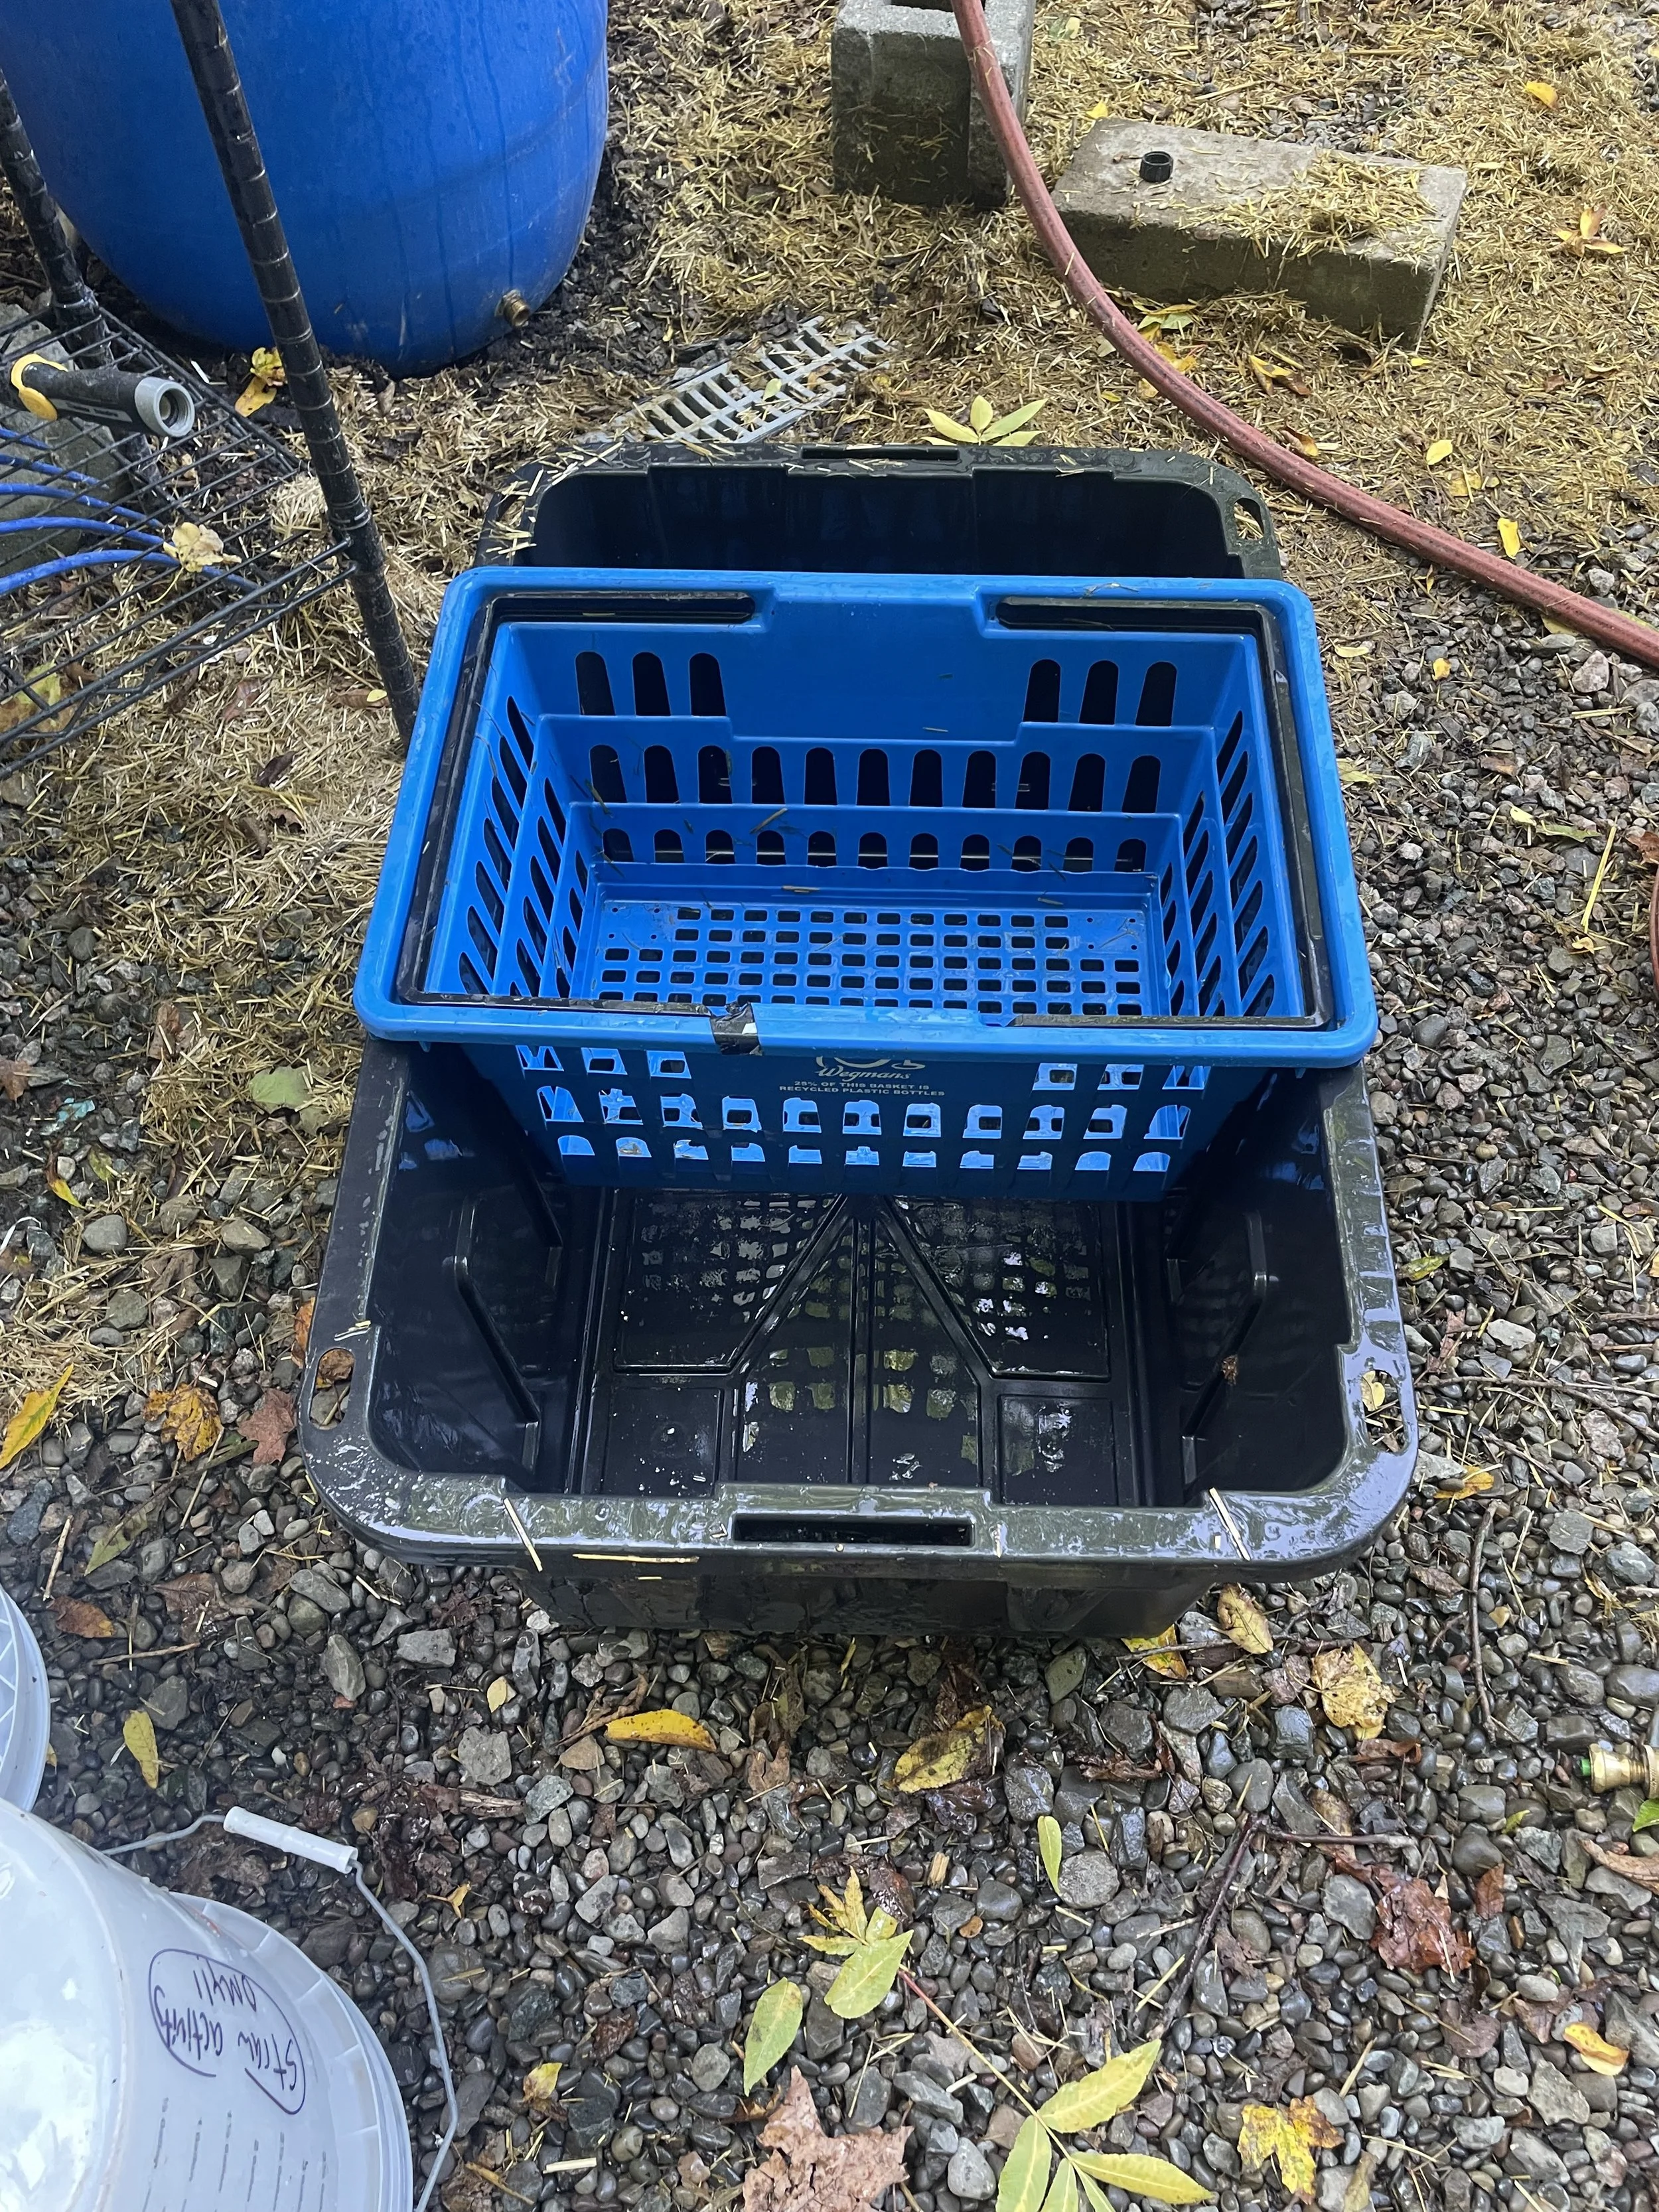
we have found a shopping basket nested intoa. common black tote bin (from lowes or home depot) works well to drain straw and capture the liquid so it can be neautralized before disposal
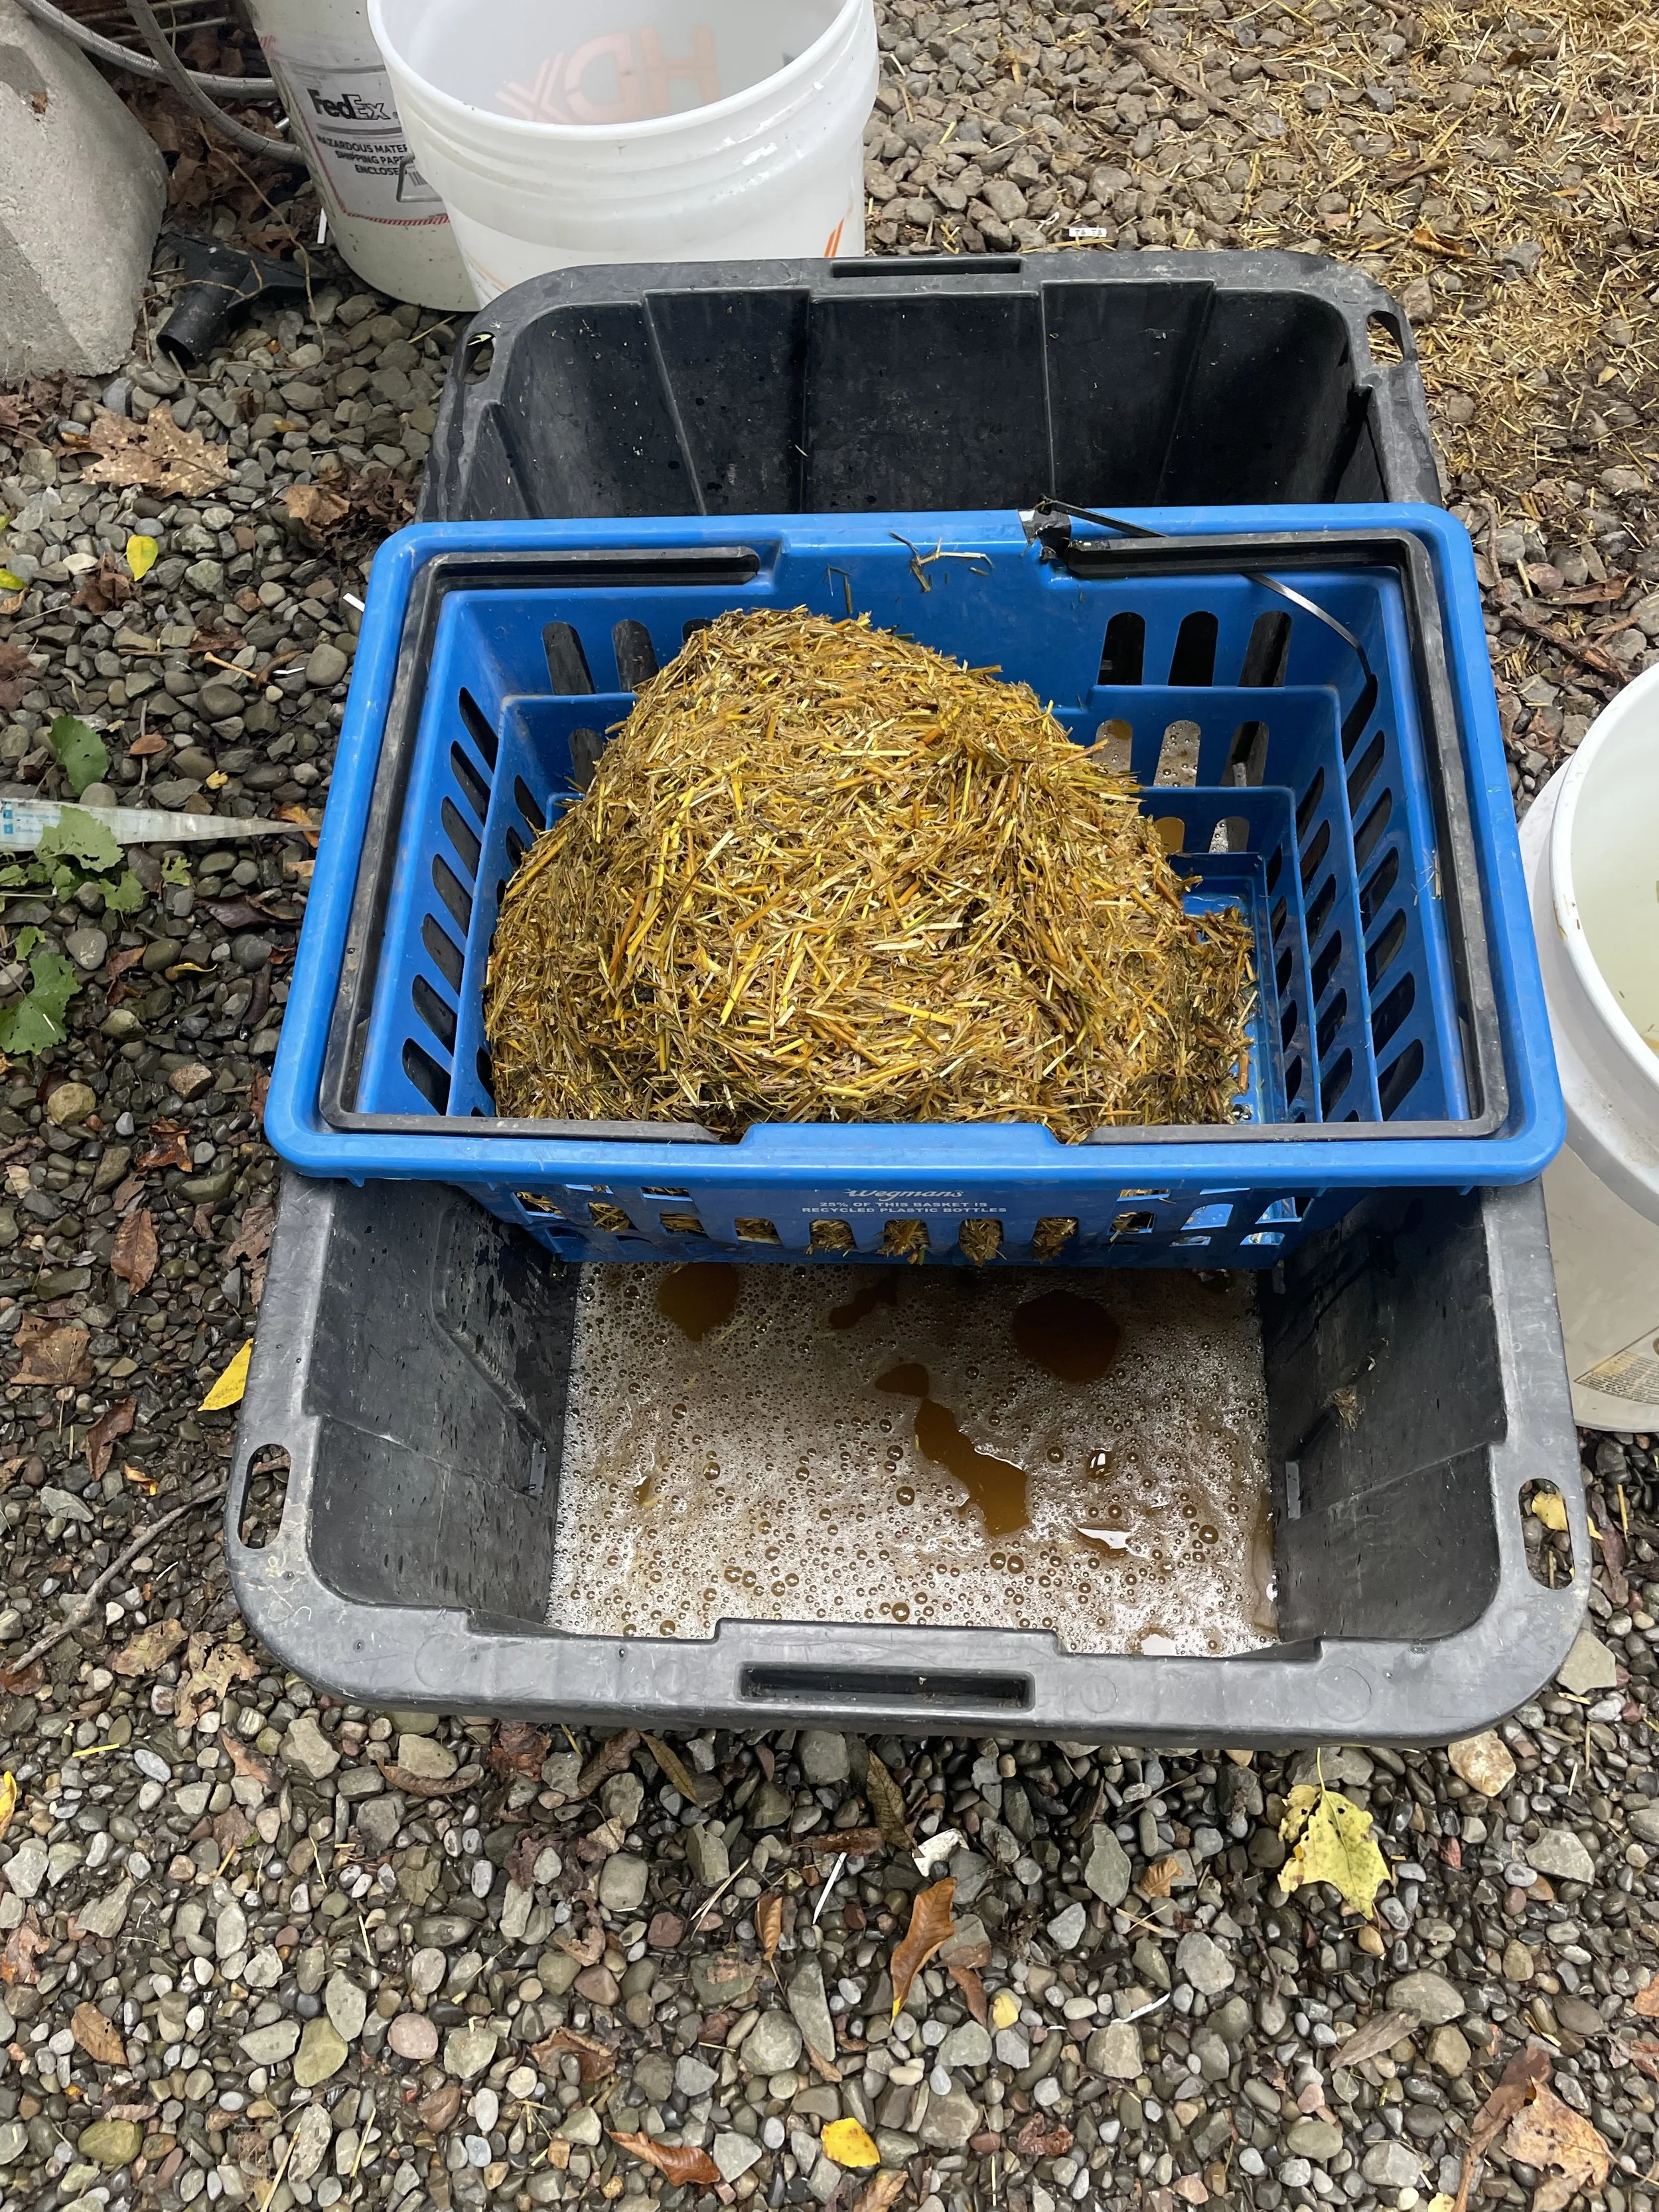
draining straw, for about 20 min. when touching straw, be sure to use gloves.
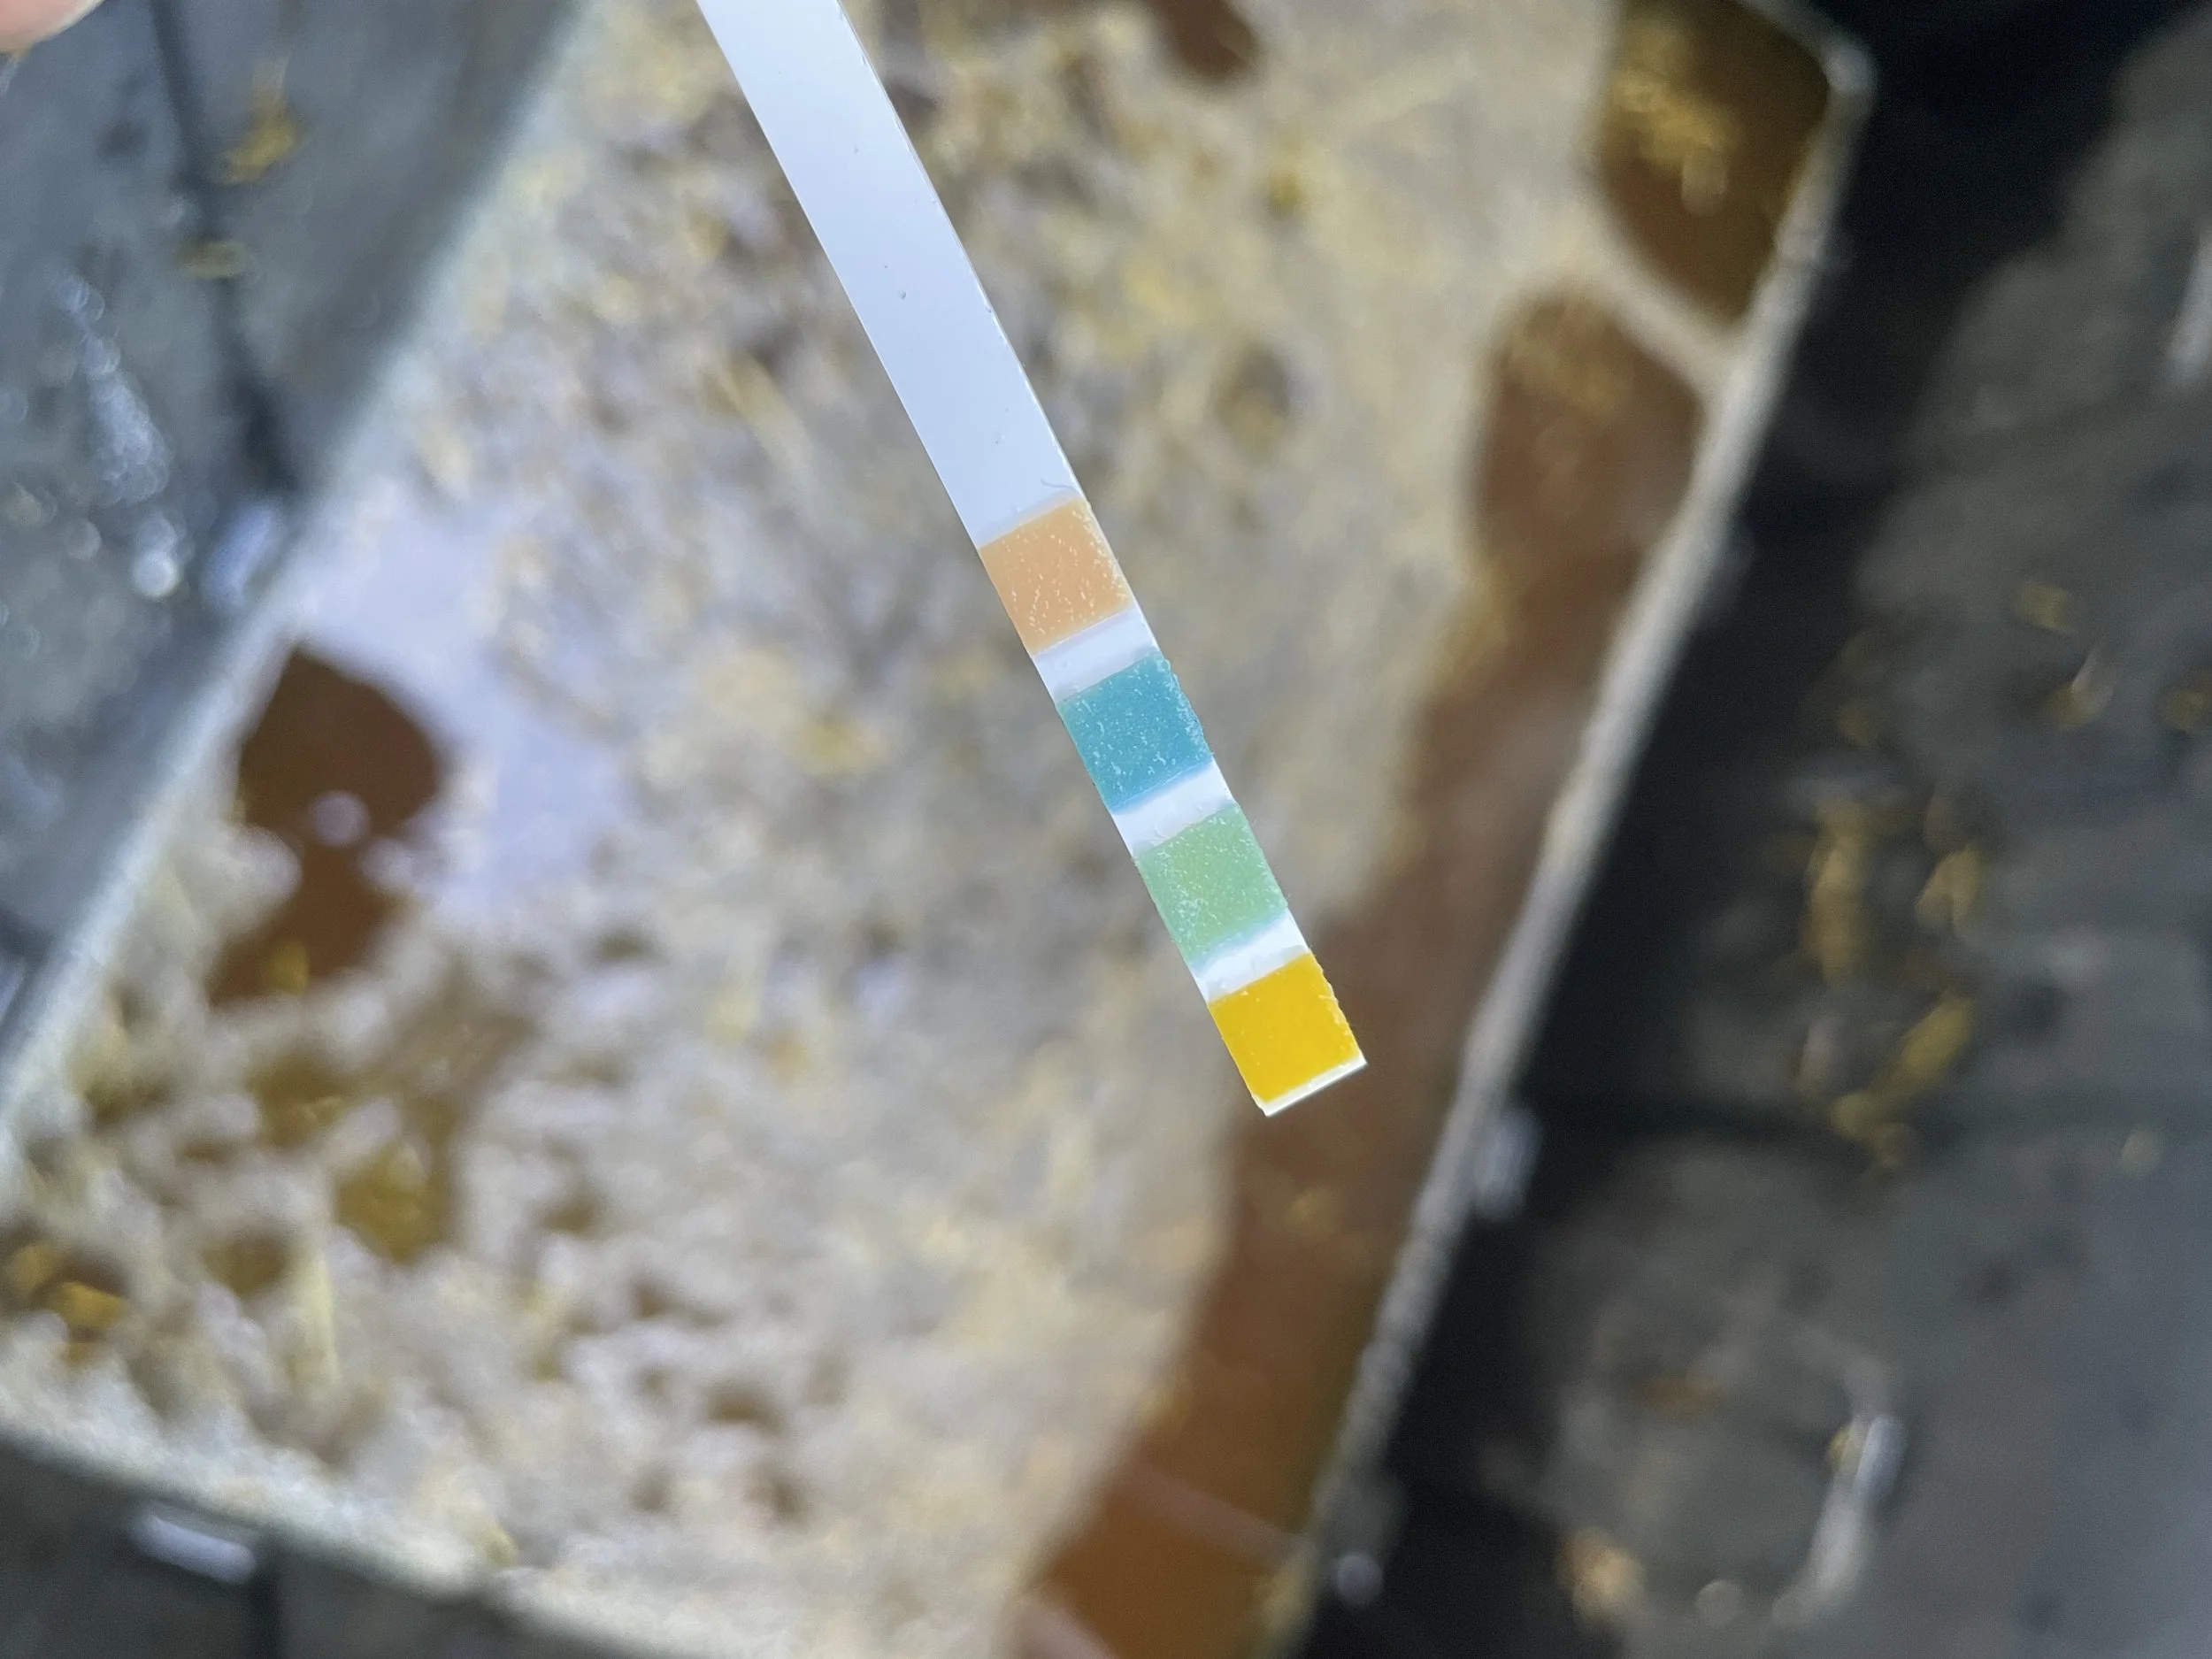
before dumping water, neutralize so it doesn't hurt plants or soil, by adding citric acid. pH stroup should read near neutral. Add slowly, mix, and check multiple times.
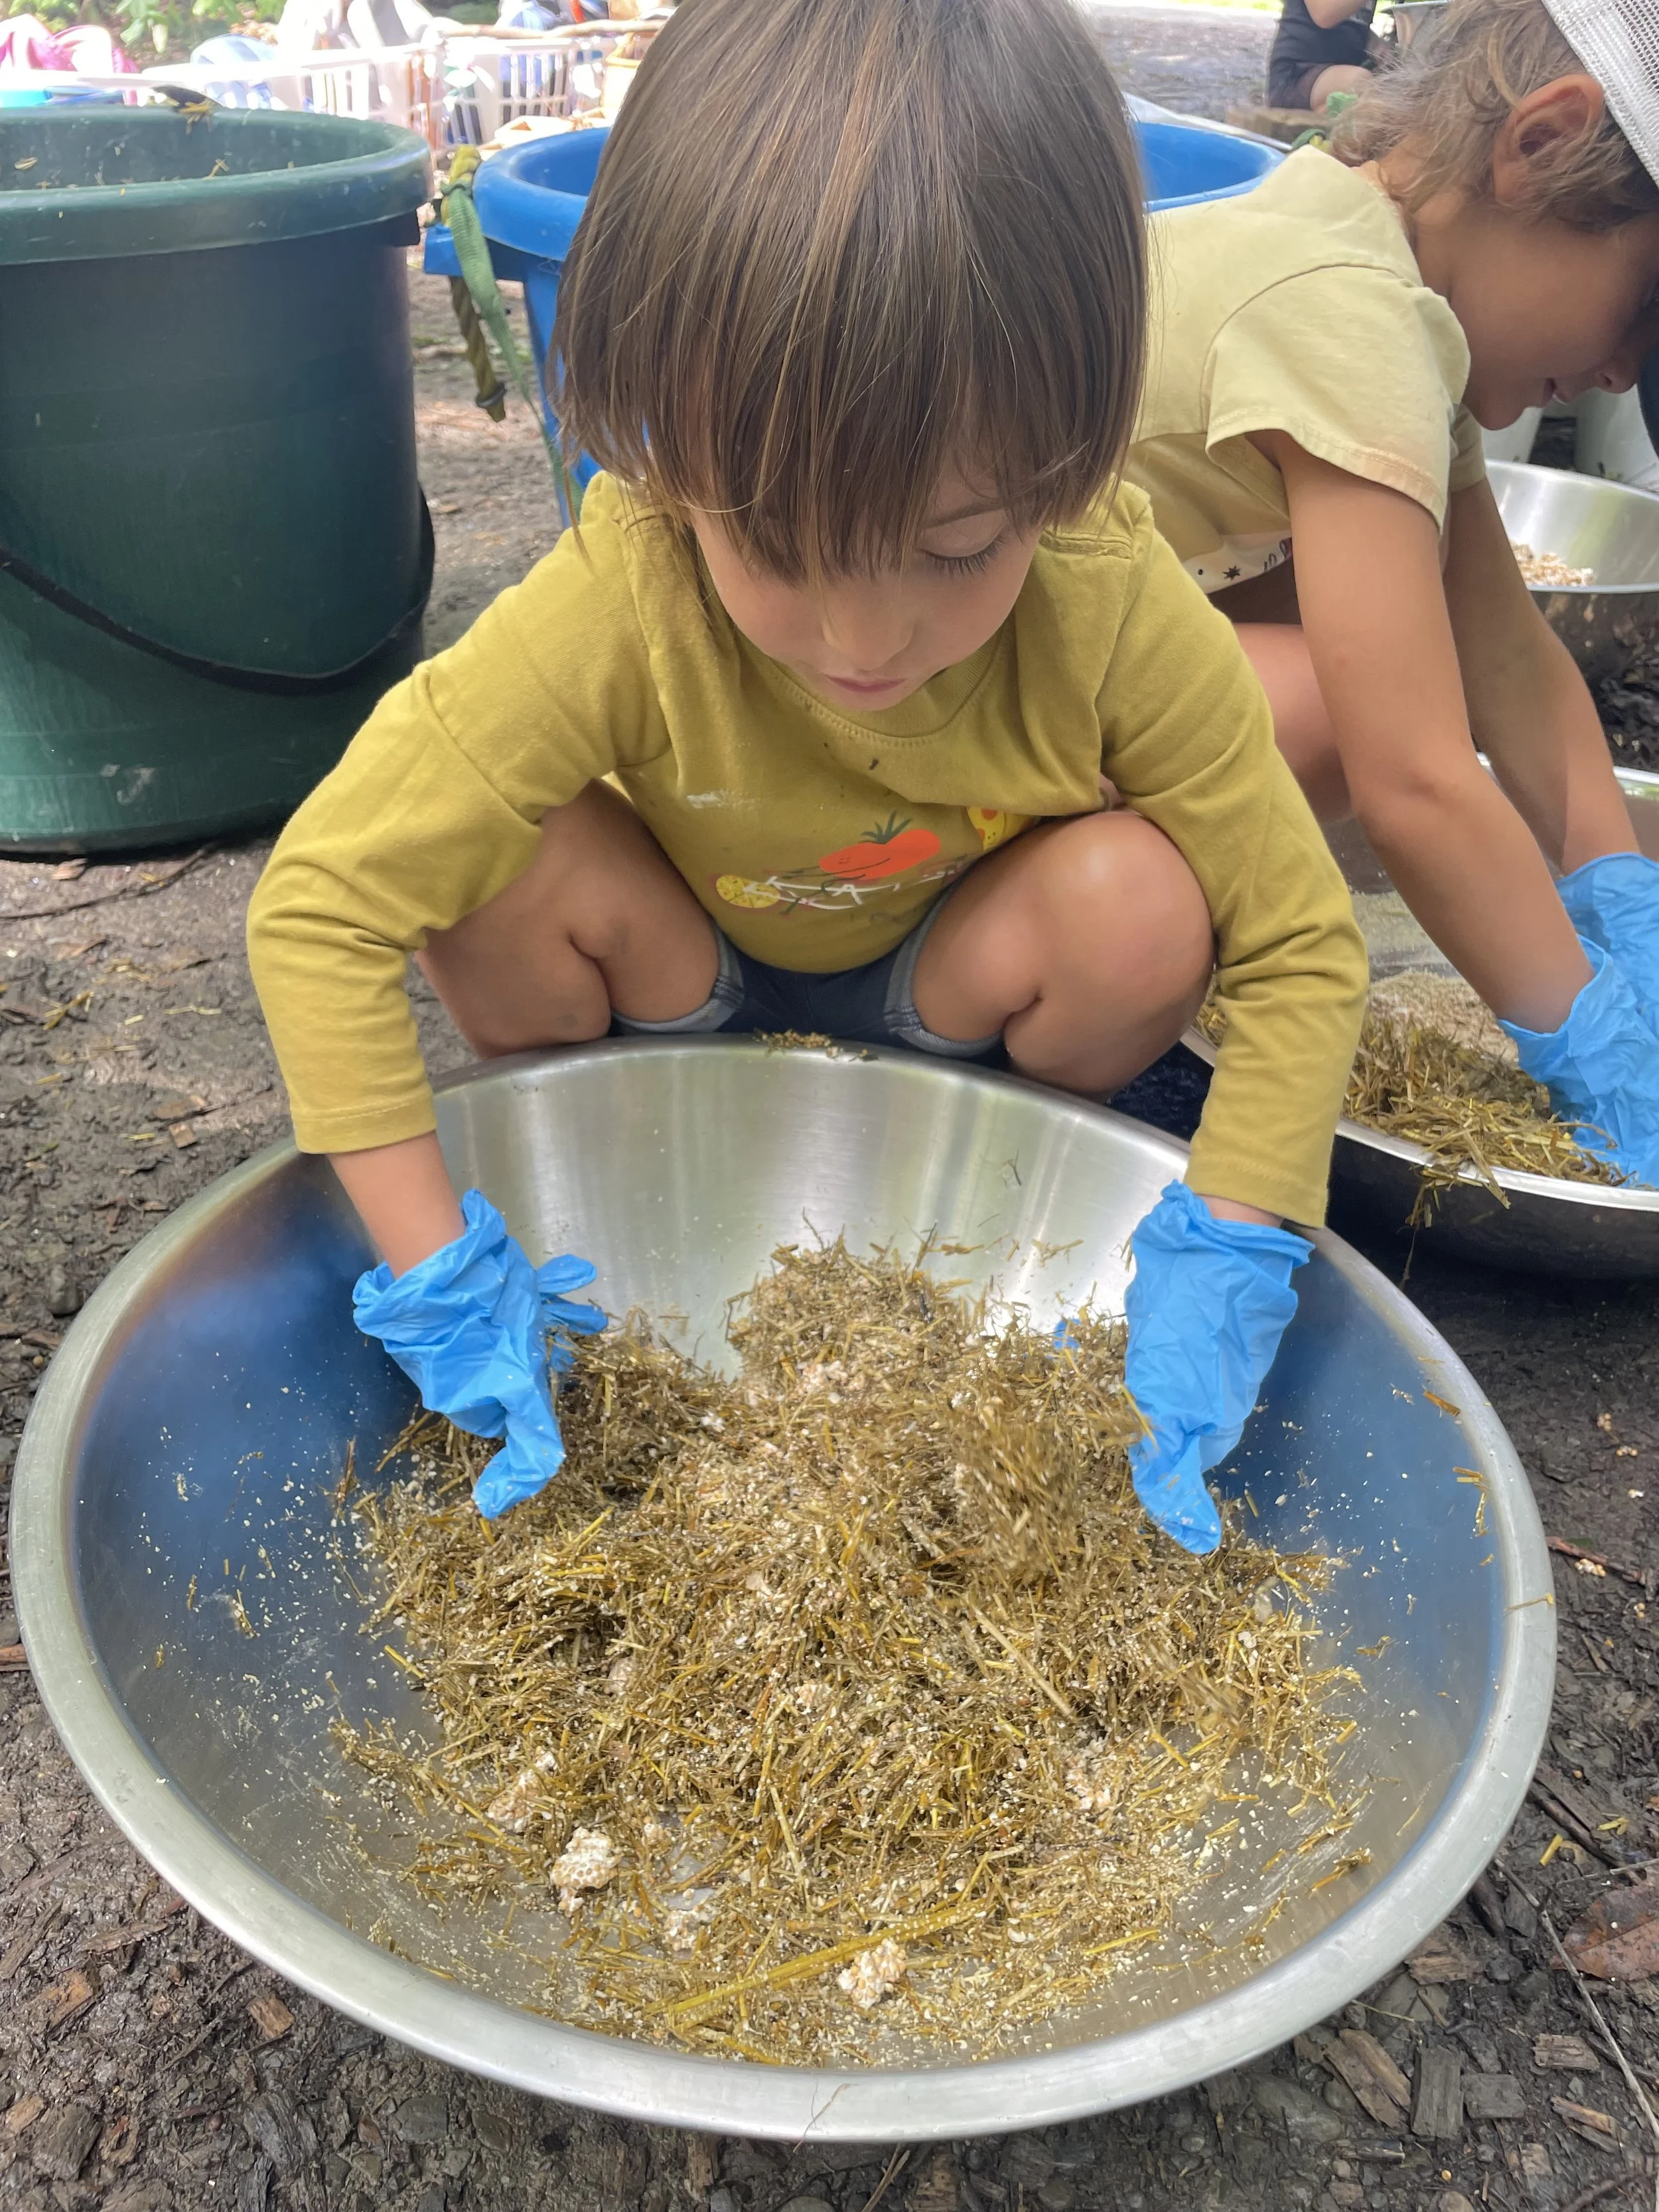
After draining, use gloves and mix straw, soy hulls, and spawn.
Straw Oyster Grow Kit Instructions
This makes a great activity to learn the art and science of mushroom growing. Pay as much attention to the process as to the harvest — sometimes things don’t work out, and learning to read mushrooms from substrate to fruiting body is an amazing process to behold. View this guide online for a full gallery of pictures and video at: wellspringforestfarm.com/strawkit
In your kit:
dry shredded organic straw · organic soy hulls · oyster spawn · hydrated lime · citric acid · pH strips · gloves
You’ll also need:
Two clean 5-gallon buckets · something to drain the straw over while catching the liquid ( a shopping basket set in a tub works well) · a brick or rock · a thumbtack · a paper or tote bag.
NOTE: Handle with care. The lime is caustic and very fine — don’t breathe it in or get it on bare skin. The citric acid can sting a little too. Pour both straight from their bags without touching them.
Not ready to grow yet? Everything keeps in a cool dry place — except the spawn, which goes in a paper bag in the fridge.
Day 1 — Soak the straw
Dump the straw into one bucket and set the bag aside, keeping the inside clean; you’ll pack back into it later. Put a couple inches of water in the second bucket, add the hydrated lime, and stir with a stick as you slowly fill the bucket — gently, so the powder doesn’t plume up. Test the pH, you should get a reading like this, which indicates a pH around 14.
Weigh the straw down with a brick or a grate and pour the lime water over it. You’ll see it bubble as the liquid fills the gaps. Cover it so rain stays out, and leave it for 12 to 20 hours.
Why lime? It raises the pH sharply. That alkalinity excludes most common contaminants while staying perfectly hospitable to oyster mycelium — no lab, no sterile room needed.
Day 2 — Drain, mix, pack
Pour everything into your strainer and let it drain for about 20 minutes — gloves on whenever you handle the straw. You’re after field capacity: a squeezed handful feels wet but doesn’t drip. If it’s still heavy, squeeze it as you move it back into the rinsed bucket. Save any leftover lime water to neutralize with the citric acid before it goes down the drain.
Mix the straw, both bags of soy hulls, and the spawn until completely uniform. Wiping the bin and your gloves with alcohol or vinegar isn’t strictly necessary, but can help sanitize to reduce the potential for contamination.
Sprinkle the mix back into the original bag a little at a time so it drops in evenly with no air pockets; hold the top, pull the tail, and shake it out so it settles. Uniformity matters — pockets and gaps make it harder for the mycelium to travel. Close the top and bounce the bag on a hard surface 10 to 15 times. Think of packing a sausage: it should drop from 36–40 inches down to about 24 and feel firm. Tie it or rubber band the top off snug against the substrate, leaving no air gap at the top. Finally, poke small holes with a clean thumbtack every inch or so all around the bag, bottom included. Stand it in a bucket or hang it for the first 24 hours so excess moisture can drain away.
To neutralize the leftover water, add any extra leftover lime water from the previous day into your vessel, and then dump and mix in the citric acid. Test with pH which should read like the picture above, close to 7 neutral.
Days 3 to 14: Spawn Run
Slip the bag inside a paper or tote bag — airflow in, light out — and keep it somewhere steady around 70°F. Over 10 to 15 days the mycelium runs through the straw and knits it into a single white mat.
By day 12 to 14 the block should be firm and fully white. If it isn’t, all hope isn’t lost, but patchiness, brown liquid pooling in the bottom, discoloration, or blue-green mold are signs something has gone sideways.
Fruiting and harvest
Once the block is uniformly white, bring it into the light, slice the bag, and mist daily. Pins show up within 7 to 10 days. Keep misting and watch them come.
Harvest when the caps have opened but the edges still curl — don’t let them go flat. Cut or tear at the base. The whole mushroom is good eating apart from the straw-bound heel, and it keeps a week or more in the fridge.
A second flush
Put the bag back inside its paper bag and into the fridge for 24 hours, then bring it back out. No new holes needed — it will fruit from the same spots.
Beyond that the block is breaking down and is better off outdoors. Bury it in a garden bed where it will feed the soil and worms.
Questions, or pictures to share? We’d love to see them. Due to all the things that can happen, we cannot guarantee success - we can guarantee you’ll learn! Email Stevegabrielfarmer@gmail.com or text 607.342.282